
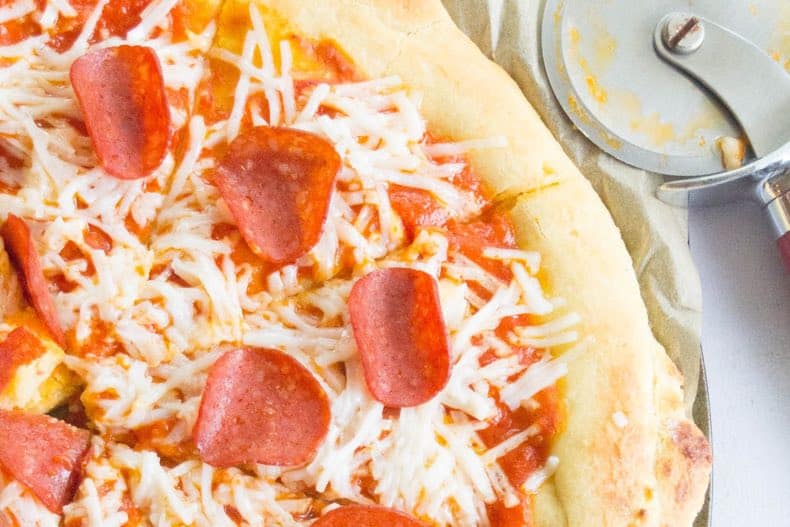
I don’t know about you, but I take pizza VERY SERIOUSLY.
We’ve been doing our weekly family movie/pizza night every Friday since 2012 and it’s probably our favorite family tradition – if we’re out on a Friday the kids don’t let the weekend go by without making up for it!
This paleo pizza crust recipe took me three years to tweak and perfect just so, and that was after five agonizing years of trying/failing to find a gluten-free and/or paleo pizza crust that didn’t turn me into Sadsack Sally every Friday night.
(So many flops. OH LAWD a’MERCY – so many gross, horrid pizza crust recipe fails in my back pocket. I’ve tried them all – cauliflower, alllll the standard gluten-free flour options, a bunch of grain-free recipes, one made from mostly mozzarella (blech), and probably a few others I’ve blocked from my memory after scraping them into the garbage.)
I’ve been avoiding gluten for the most part since 2010, found out I’m celiac in 2017, and am currently shifting to a Paleo diet for gut healing. Yup, it’s been a long road. The good news: this recipe has been super-duper thoroughly tested!
Is Yeast Allowed on Paleo?
Yes! It’s a common misunderstanding that yeast is unhealthy. There are different types of yeast – some good for you, and some not. We all have yeast naturally in our gut (microbiome). Candida is one of the more well-known types that’s unhealthy when it gets overgrown, and it’s a common issue today.
On the other hand, there are certain strains of yeast in some lacto-fermented foods, as well as in wine and beer, which aren’t bad for you.
Dr. Sarah Ballantyne, PhD (medical biophysicist) is the creator of the Autoimmune Protocol and the popular blog The Paleo Mom, and she wrote an entire article devoted to this question. She wrote,
“So what about Active Dry Yeast for baking bread? Well, active yeast is the strain Saccharomyces cerevisiae. This strain of yeast is found naturally in some kefir cultures and some lacto-fermented foods. It is also the strain used to make wine and beer.”
In other words: go whip up some yeast-based paleo pizza crust and enjoy, guilt-free!
What Makes This Paleo Pizza Crust THE BEST?
Well, as mentioned above, I’ve tried just about every type of paleo pizza crust recipe on the internet (okay, probably not quite, but it feels like it) over the last nine years, so I feel like I have a smidge of authority on the subject. Or least a strong opinion. 😉
Also – I’ve been way overthinking this topic for years now, and have a very specific list of paleo pizza crust demands, as outlined below.
As a self-professed pizza superfan who requires gluten-free, and chooses to be grain-free, I want the following in my homemade paleo pizza crust:
- I need it to feel crust-like (texture and flavor). No, internet, it’s not pizza if you throw sauce/cheese on a slice of sweet potato/zucchini/pepperoni and bake it. Or whatever other cutesy pizza poser idea you have. That may be tasty but it’s not pizza. I’ve tried some of those ideas but they just don’t cut it, cravings-wise.
- I also want it to taste as authentic as possible. Lots of paleo pizza crust recipes out there are essentially just flatbread (ie. unleavened) with toppings. That works, I guess, but it doesn’t taste like pizza crust to me. Hence, my recipe uses yeast to help the dough rise and keep it airy, and to give it that hint of yeasty flavour you’d find in a traditional gluten-based pizza crust.
- I need it to bake up nicely and not fall apart when I try to get it out of the pan to serve. Including when I’ve piled a heavy mountain of toppings on it.
- I prefer it to not be made of one type of flour alone. This is a strong personal preference I’ve developed after years of grain-free baking. I don’t usually like the taste of almond or coconut flours when used on their own in a baked good – but a little-of-this and a little-of-that combines to = magic.
- I need it to be affordable, which is one of the reasons I use tapioca starch and coconut flour to help stretch out my expensive almond flour. (Note: cassava is an amazing grain-free flour to bake with but I pay $70 for a ten pound bag and cry while hitting the “submit” button on my order. Hence, I ration it fiercely, and don’t use it in this paleo pizza crust recipe that I make weekly!)
This paleo pizza crust covers all of my bases. ALL OF THEM.
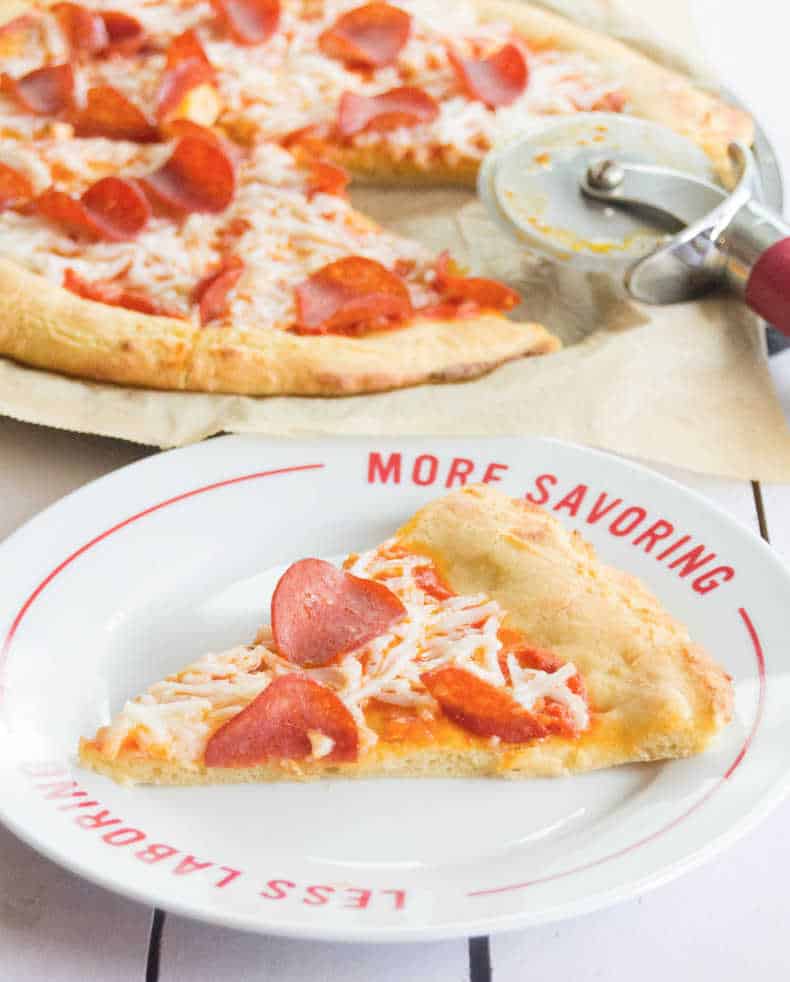
Is this Recipe difficult to make?
Nope! It’s a fairly straightforward recipe to make, especially once you’ve done it a few times – it becomes easy to do on autopilot. It does take a bit longer than a non-yeast (flatbread-style) crust because you have to account for a bit of rise time.
I actually really enjoy my Friday afternoon pizza ritual. By the time I’ve started the crust and it’s rising – I’m grating cheese, chopping toppings, letting the oven preheat, and preparing my pans. Then the dough goes into the pans, gets baked for ten minutes, and comes out. Add toppings, bake again, and it’s done!
How to Make This Paleo Pizza Crust Recipe, Step-by-Step
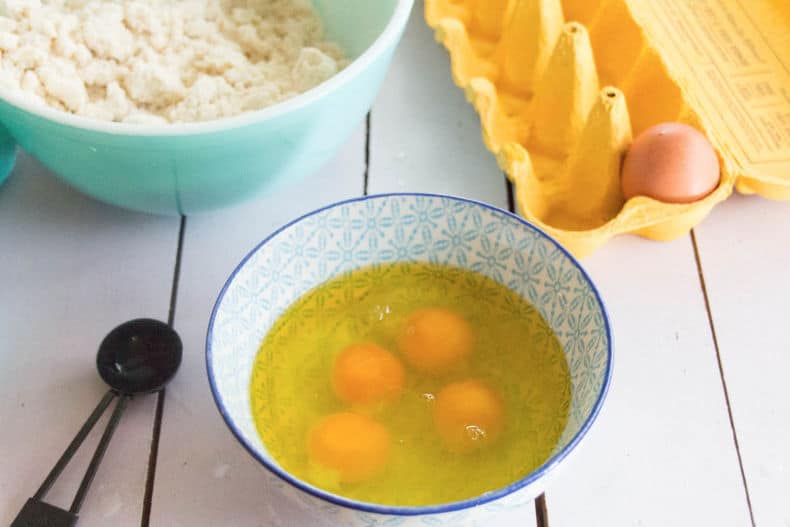
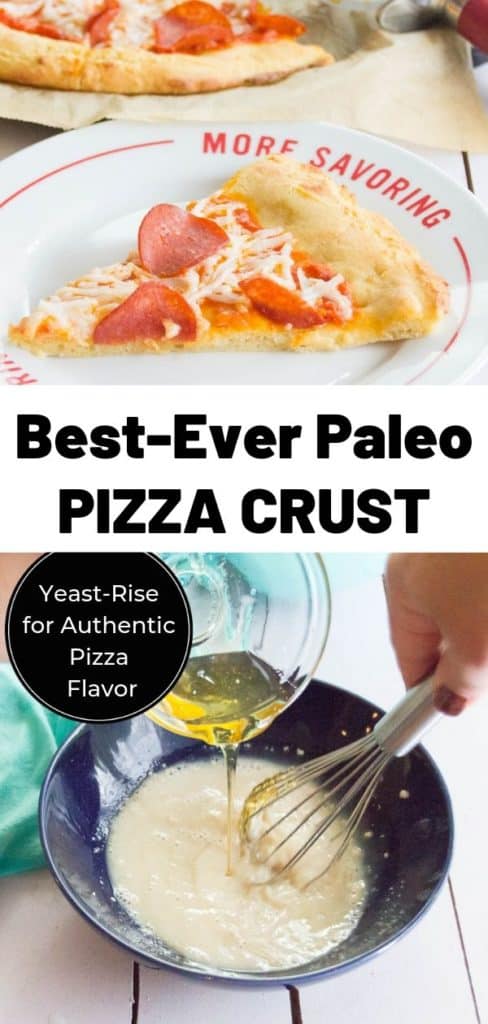
Start by proofing your yeast with some warm water and honey, then adding your oil, eggs, and apple cider vinegar. Whisk together your dry ingredients in a separate bowl.
Once you’ve got the dry ingredients combined, add the oil, vinegar, and eggs to your yeast mixture.
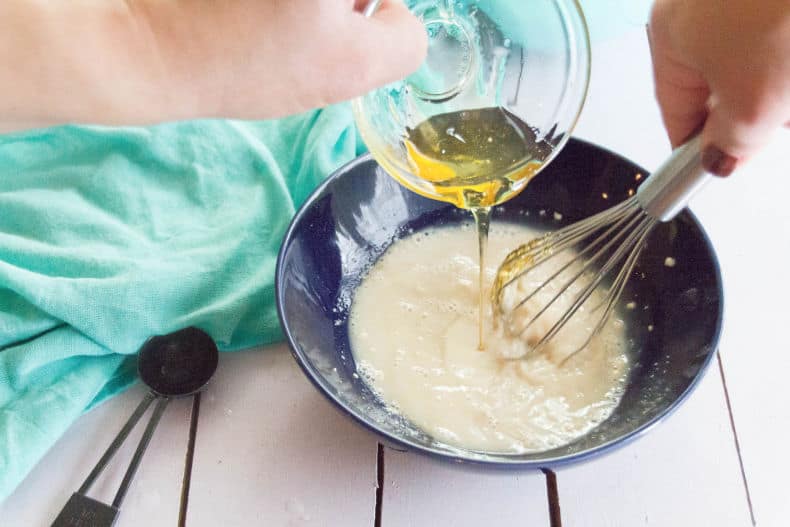
Whisk well to combine.
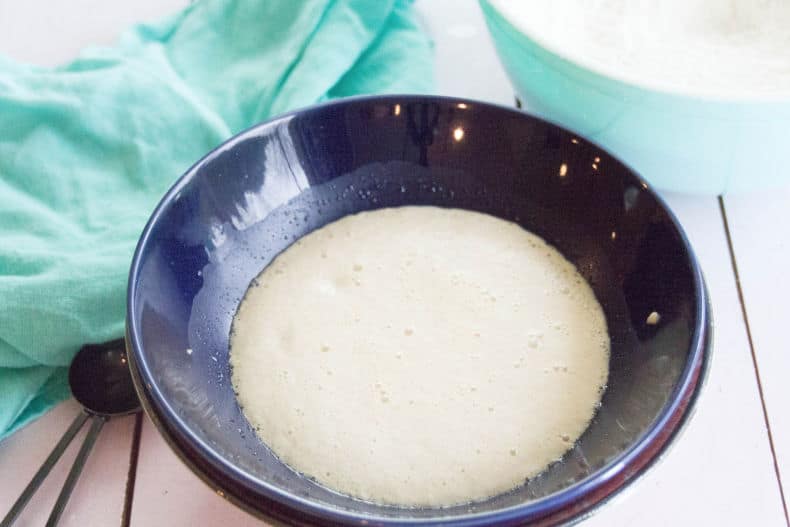
Add dry ingredients to wet mixture, and stir well to combine. Cover with a tea towel, and let rise.
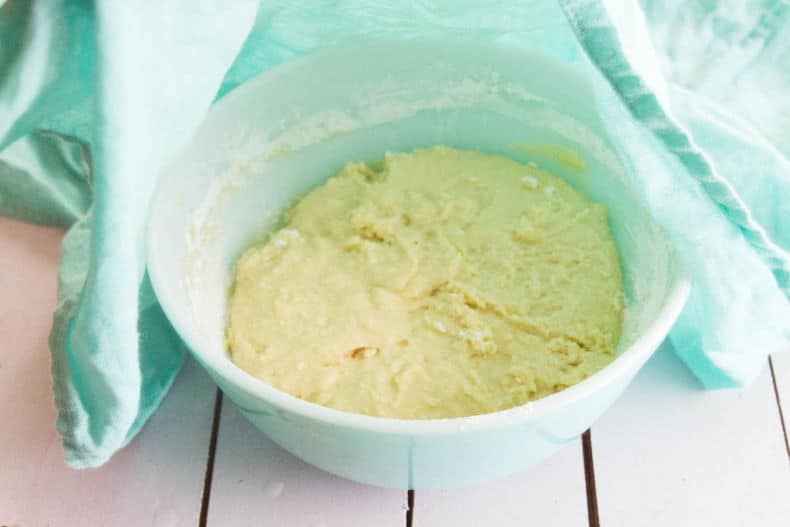
Once dough has risen, pour/spoon it out onto your prepared baking pans (cast iron, well-seasoned stoneware, or any other pan lined with parchment paper).
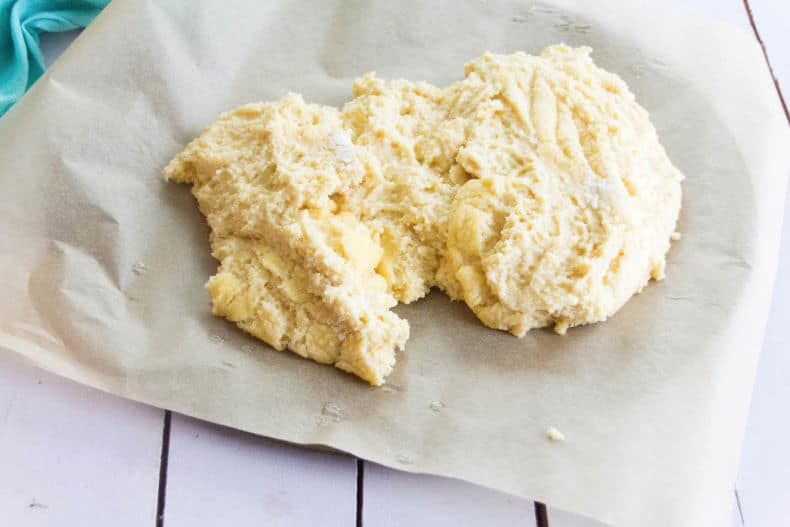
Spread to edges, and bake, then remove from oven, add toppings, and bake again until toppings are done.
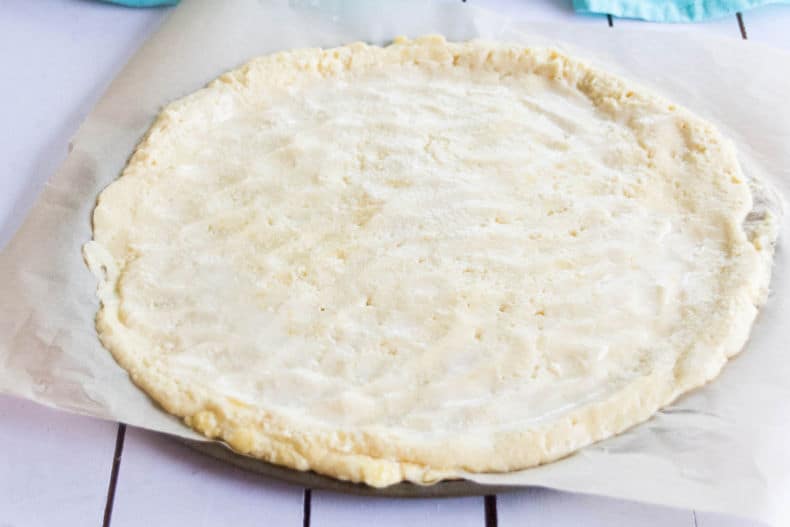
Enjoy!

What Type of Pan is Best to Bake this Paleo Pizza Crust?
With a family of six and this kitchen hack for easy freezer meals, I always make a large batch of whatever I’m cooking. When it’s pizza night, I use a variety of pans because I’m making so much!
Here’s what I use:


Between my 2 cast-iron skillets, my pizza stone, and my large stone bar pan – I typically made enough pizza for my hungry crew of six, plus enough for lunch the next day.
If you don’t have any of the above types of pans, a simple non-stick baking sheet will do the trick, but I highly recommend lining it with parchment paper to help avoid harmful teflon chemicals, as well as to make the crust crispier and yummier!
- This parchment paper is a good price, and it’s also unbleached and compostable! #winning
The recipe, as written below, will make enough for my family of six, plus leftovers, as long as I keep the crusts relatively thin. If you don’t need to serve that many people, feel free to make your crusts a bit thicker.
Recipe Pairing Recommendations:
To make it a full meal – check out this Zesty Italian Cucumber Salad Recipe, or this Apple Walnut Kale Salad with Citrus Vinaigrette, and finish it off with a batch of these Baked Grain-Free Chocolate Doughnuts. Mmm!

Paleo Pizza Crust (Yeast-Rise for Authentic Flavor)
Ingredients
- 2 tbsp quick yeast
- 2 tbsp honey
- 3/4 cup warm water
- 1 1/2 cups almond flour
- 2 1/4 cups tapioca starch
- 1/3 cup coconut flour
- 2 tsp sea salt
- 2 tsp granulated garlic (or 1 tsp. garlic powder) optional
- 1/3 cup avocado oil
- 1 tbsp apple cider vinegar
- 4 eggs large
Instructions
- OPTIONAL: Set oven to preheat at 250F and set a timer for 5 minutes. When the timer goes off, turn the oven off. Let cool. (You are creating a warm environment for your dough to rise. It should be slightly warmer than your kitchen counter, but not so hot that it cooks the dough as it rises. The time this takes to reach the right temperature will depend on how quickly your oven heats.)
- Combine first three ingredients in a bowl and stir. Make sure the water is warm enough to soften the honey so that it mostly dissolves as you stir. (If your honey is particularly hard, I recommend using a glass measuring cup and 3/4c measured *hot* water, then stir in your honey until it dissolves. Wait a couple minutes before adding the mixture to the bowl to let the water cool to warm, or you risk killing the yeast.)
- Let set for 10 minutes. Mixture should start to bubble up. (If it has zero reaction, your yeast isn't working, and you'll need to start again with new yeast.)
- In another bowl, combine the dry ingredients (almond flour, tapioca starch, coconut flour, salt, and optional garlic powder) and set aside.
- After yeast mixture has proofed, add avocado oil, apple cider vinegar, and eggs. Whisk to combine evenly and thoroughly.
- Add dry ingredients mixture to yeast mixture, and stir until well mixed.
- Cover with a tea towel, and allow to rise in a warm environment for 45-60 minutes. (I use my oven, as noted above.)
- Once dough has risen, preheat the oven to 450F. (Take your dough out first, if you let it rise in the oven!)
- Prepare your baking surface. I use a stoneware baking sheet, and two cast-iron frying pans, and I spread a generous layer of avocado oil to grease them. If using anything other than well-seasoned cast-iron or stoneware, I recommend lining with parchment paper.
- Spoon dough out onto baking surface. (It's normal for it to be very puffed up, and then collapse into itself as you spoon it out.) Have a bowl of water beside you, and spread the dough to the edges with constantly wet fingers (to prevent sticking).
- Bake at 450F for 6-8 minutes, or until edges are golden brown. Cook time will depend on how thick your dough is spread, as well as your oven and choice of bakeware.
- Once cooked, spread with pizza sauce and your favorite toppings, and bake for another 6-10 minutes, or until cheese is golden and bubbly.
Nutrition
For information on Paleo baking, check out this article 5 Important Tips for the Paleo Baker, or this one: Getting Started with Paleo Baking. Most importantly – don’t give up! Growing as a grain-free cook and baker can be trial and error, but I assure you – a delicious and satisfying grain-free lifestyle is within your reach.












Carson
This is our go-to pizza dough recipe! Another batch is rising as we speak! Thanks so much for sharing!
Natalie Cotherman
I made this last night for supper, but with a few modifications to make it more like traditional pizza dough. It was so good. So close to the real thing. And I’ve always been an avid homemade pizza maker.
What I changed so it wasn’t “runny” like several reviewers mentioned:
1. I proofed the yeast with monk fruit sweetener instead of honey since it’s a 1:1 sugar substitute and tastes just like the real thing.
2. Mixed all the dry ingredients as the recipe states, and also added 2 teaspoons of Xanthan gum to give the dough some elasticity. Next, I added the avocado oil and apple cider vinegar and mixed it with my Kitchenaid’s dough hook. The mixture was a bit dry so I added 1 egg at a time with the dough hook (it only took 2 eggs total) to give it a similar consistency to my regular pizza dough.
3. I then preheated my oven for a few minutes until it reached 170 degrees and turned it off (I always do this for anything with yeast to help it rise).
4. I then coated the dough with avocado oil and covered it with saran-wrap and let it rise for about 5-6 hours. It doubled nicely.
5. It still didn’t have quite the elasticity as my traditional pizza dough, but I was able to easily press it out on my pizza stone. I then added string cheese to the crust for a stuffed crust pizza and topped with sauce, cheese & toppings.
So delicious – will definitely make it again.
Beth
Those sound like some excellent tweaks! Thanks for sharing, Natalie! I may just try the xanthan gum next time. 🙂
Jessica Flory
Wow, this is it!! BEST paleo pizza crust ever, tastes just like the real thing!!
Beth
Yay! I’m so glad you enjoyed it as much as we do. 🙂
Gambrill
Can I bake the topped pizza right on the rack (after pre-bake in the pan)? Wanting v crispy. Looks like a good recipe!! Thank you!
Beth
Yes, that should work!
John
This turned out very tasty. It was breadier (not chewy) than I like for pizza. The mix was more like a batter than a dough, I poured it onto parchment on a cast iron pizza pan and spread with a spatula, maybe I got something wrong.
Beth
Nope, that’s correct! It’s more “battery-ish” than dough-like because it’s grain-free. Those stretchy pizza doughs you may be thinking of have that elastic gluten in them to make them like that. This recipe is grain-free, so behaves differently.
Holly
Thank you so much for a grain free pizza with that yeast flavor. This is the best one I have found in texture and taste! I doubled the recipe to make a lot and it was a huge hit with the 3 people that can’t have grains. Now I have leftovers for the rest of the week.
Beth
Oh yay!! I’m so glad you liked it! 🙂 Still a major hit at our house too.
EJ
I followed pretty much every ingredient (other than honey which I swapped for date syrup) and I have to say the consistency would’ve been great for pizza crust but the apple cider vinegar over powered the over all taste of the pizza. I only made the crust and maybe the sauce could’ve helped but to me, I couldn’t get over the apple cider taste.
Beth
Sorry it didn’t work out for you, EJ. That’s a bummer. I made this recipe for like the hundredth time last night – and there wasn’t a vinegar taste at all. I’ve had other people test and review the recipe as well. No idea where it went wrong for you, but let me know if you give it another try.
Frances
This looks amazing!
Richelle
I would like to make this pizza crust, but I’m wondering if there’s a substitute for the tapioca starch since I don’t have any on hand.
Beth
Hi Richelle! You could probably try another starch – like arrowroot powder, or potato starch, or even corn starch if you eat grains. Hope that helps!
Elaine Bongiorni
Would I be able to use olive oil instead of avocado oil?
Beth
Yes, that should work fine!
Holly Cary
I am also a “Mom of four, wife of one”. Have you ever baked the crusts ahead of time and frozen them for later pizza night use? I want it to be quick in pizza night.
Beth
I haven’t, but a friend has done with good results!
Genevieve Dupuis
Amazing crust. I have been craving a thick crust pizza for a very long time and this really hit the spot. Not only did I enjoy it but my 3 kids and husband did as well, and let me tell you, they are all picky eaters. Loved the taste and texture. This will definitely be on the menu from now on.
Beth
YES!!! I’m so glad you guys loved it! This comment made my day. 🙂