Guest Post by Emily of Recipes to Nourish.
[Beth’s Warning: try really hard not to drool on your keyboard. That’s really not good for computers.]
I LOVE ice cream! Everything is better with ice cream, right? I simply can’t get enough of it, especially when the warmer weather starts.
My husband likes traditional ice cream flavors like Rocky Road, Fresh Peach + Honey Vanilla. Little Love {my sweet 7 year old daughter} likes very simple, smooth flavors like Chocolate, Salted Caramel, Strawberry + Mint … with “no seeds or stuff in it.” Although I love ALL of those flavors, I also like to venture out and try new and unusual ones like Creamy Watermelon, Chocolate Elderberry and Rose Hip + Sweet Carrot ice cream.
Because I love ice cream oh so very much, I had to come up with a new exciting way to eat it. Don’t get me wrong, I will always love good ole’ plain ice cream by itself or with some homemade Chocolate Fudge Sauce … but it’s nice to try something new too.
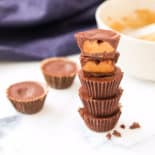
Enter: the amazing, delicious bon bon…
Little mounds of sweet, deletable ice cream covered with chocolate … what more could you ask for?
Bon Bons are so incredibly fun to eat, and they are always a crowd pleaser. My mom and I have served them at baby showers. I served them at a small tea party for Little Love and the kiddos gobbled them up. They’re great for family gatherings and parties too!
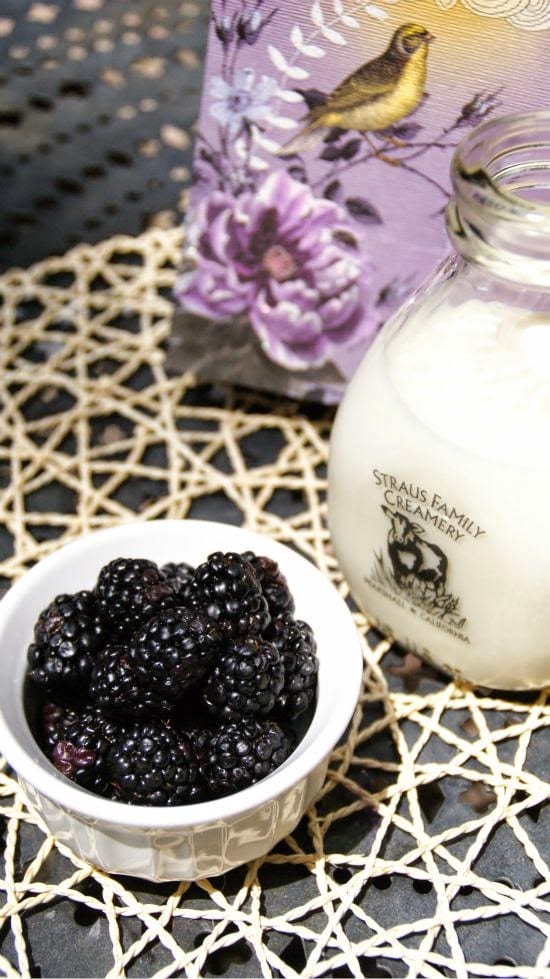
With warmer weather and summer months approaching, blackberries should be popping up at farmers markets. Make sure to grab a bunch because these gorgeous, dark beauties make the most refreshing + delightful ice cream.
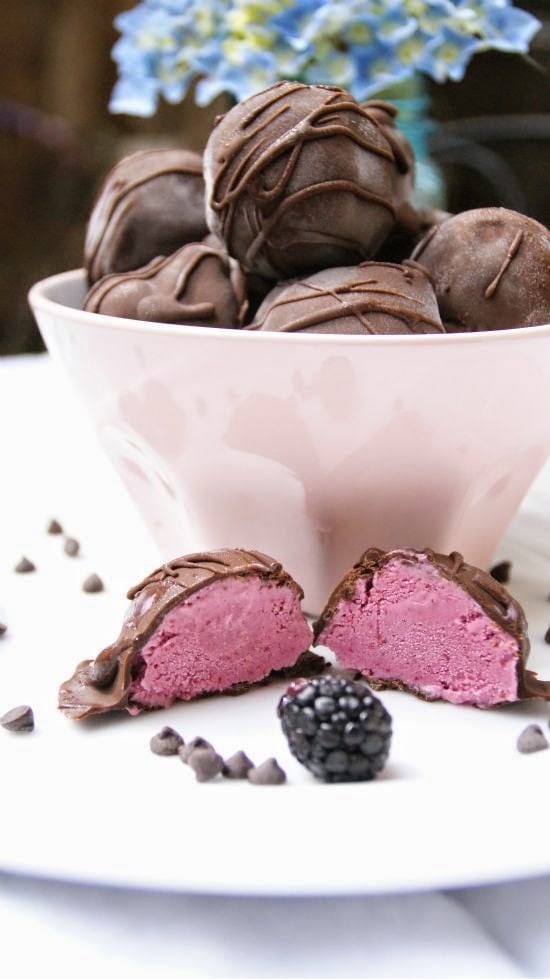
Share these with someone you love … but make sure to eat a few for yourself first! I promise you, these won’t last long if you have a family that loves ice cream. Enjoy!
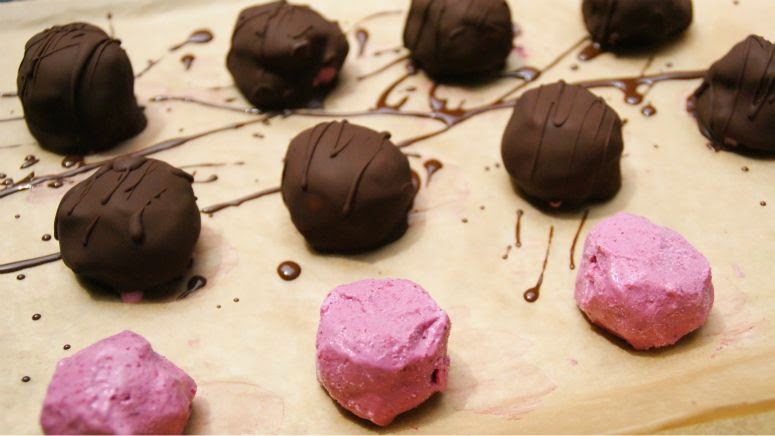
Homemade Blackberry Ice Cream Bon Bons
Ingredients
Equipment
- Blender
- Large Fine Mesh Strainer
- Large Bowl or Large Measuring Cup
- Ice Cream Maker
- Large Airtight Container
- Small Ice Cream Scooper or Small Spoon
- Large Baking Sheet
- Unbleached Parchment Paper
- Double Boiler or Heat-Proof Mixing Bowl
- Small Saucepan
Ingredients
- 1 1/2 cups organic blackberries - frozen {fresh is fine*see note below}
- 1 cup raw whole milk or organic milk*
- 1 cup raw cream or organic cream*
- 1/4 cup raw honey {I have used Clover Star Thistle + Orange Blossom}
- 1 teaspoon organic vanilla extract or homemade vanilla extract
- 1 1/4 cups allergy-free chocolate chips
- 3 tablespoons coconut oil
Instructions
BLACKBERRY ICE CREAM DIRECTIONS
- Add blackberries, milk, cream, honey and vanilla to the blender.
- Blend on medium setting until smooth and combined. No blackberry chunks should remain.
- Place strainer over large measuring cup or bowl. Pour blackberry mixture through the strainer. Use the back of a large spoon to help push the liquid through the strainer, leaving blackberry seeds behind. Discard the seeds.
- Prepare ice cream maker. Turn ice cream maker on and pour strained blackberry mixture into the ice cream maker. Mix according to your ice cream maker's instructions.
- Ice cream will start to have a "soft serve" texture (about 15-20 minutes). At this point, use a wooden spoon to transfer ice cream to a large airtight container. Make sure to lick the spoon when you're done! Place the ice cream in the freezer for at least 3 hours, or until ice cream has become firm. At this time, place a parchment paper lined baking sheet in the freezer as well.
- When ice cream is set (firm), use a small ice cream scooper or small spoon to form small balls of ice cream (about 1-2" ice cream balls). Place ice cream balls on chilled baking sheet. Return to freezer for about 1 hour to set.
CHOCOLATE COATING DIRECTIONS
- Prep your double boiler or make a homemade double boiler (that's what I do) using a heat-proof mixing bowl and small saucepan (fill the sauce pan with about 1" of water, place heat-proof bowl on top of the saucepan, the water should not be touching the bowl). Add chocolate chips and coconut oil to the double boiler or heat-proof bowl. Slowly heat over medium heat making sure to stir the chocolate as it melts. Remove from heat and let cool for about 10 minutes.
- When chocolate is melted, it's ready for you to dip the frozen ice cream balls.
- Remove frozen ice cream balls from the freezer. Working quickly, use a fork or slotted spoon to dip ice cream balls, one by one, into the chocolate mixture making sure to fully coat them with chocolate. Immediately place the bonbons back onto chilled baking sheet. Repeat until all ice cream balls are coated in chocolate. Return bonbons to freezer for 30 minutes to set.
- Bonbons are ready to eat after about 30 minutes of freezing.
Notes
Nutrition
Equipment (affiliate links)
Large Fine Mesh Strainer
Large Measuring Cup
Ice Cream Maker
Unbleached Parchment Paper
Have you ever made homemade bon bons? Summer is the perfect time to give it a try!
 Emily Sunwell-Vidaurri, author of Recipes to Nourish, is a holistic-minded, proud homebirth mommy of two amazing daughters. She can frequently be found in the kitchen cooking with the man of her dreams {her husband} and spending time with her girls. She is passionate about REAL food, holistic health, “green” living, natural birthing, baby wearing + gentle/peaceful parenting. She drinks herbal tea infusions, craves kale chips and loves homemade ice cream made with raw honey. In her spare time Emily blogs at Recipes to Nourish, a gluten-free blog focusing on Real Food and Holistic Health. You can follow along and find her on Facebook, Pinterest + Instagram.








Frances
They look amazing!
More Than Red
Unsual and delicious! With great photos!
LAUREN MIRECKI
I am literally drooling :p
Debra E
I see about substituting coconut milk instead of dairy milk for a dairy free version…but what do you substitute the raw cream with? Coconut cream concentrate? Thanks!