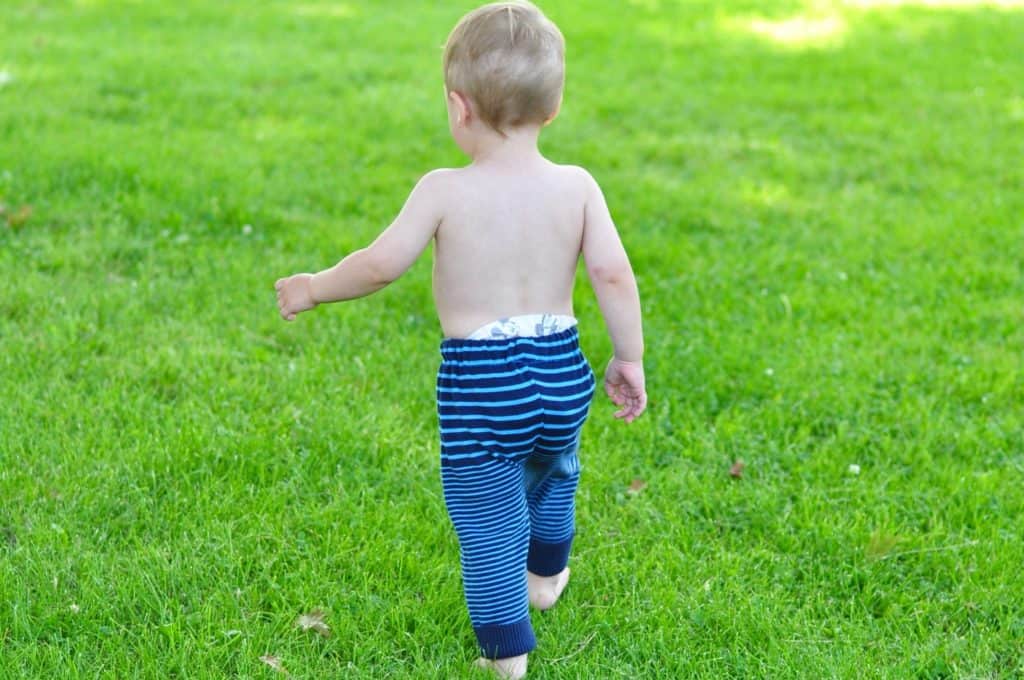
Back when I “only” had 2 kids and life was easier (we have 4 now), I decided I wanted to learn to sew. I don’t remember where I first saw the idea for these upcycled sweater pants for baby, but I had an adorable baby, a love for anything eco-friendly, and a sewing machine in my closet.
(Side note: what’s an easier number of kids? Answer: any number that’s less than the amount you currently have, ha!)
These upcycled sweater pants are a pretty easy beginner project – if I could figure it out without help, with my total newbie status, then I’m confident you can too!
When I first wrote this post years ago, blogging was in the dinosaur age. As such, I didn’t take proper step-by-step photos or write out detailed directions.
At long last, I’m updating this post with the help of my friend and R&H assistant (who also happens to know how to sew and take photos – she’s awesome). She wrote the instructions and took photos of the process so it’s all helpful and clear and hopefully results in a cute pair of baby pants for you too!
Easy DIY Upcycled Sweater Pants Tutorial with Step-by-Step Photos & Instructions
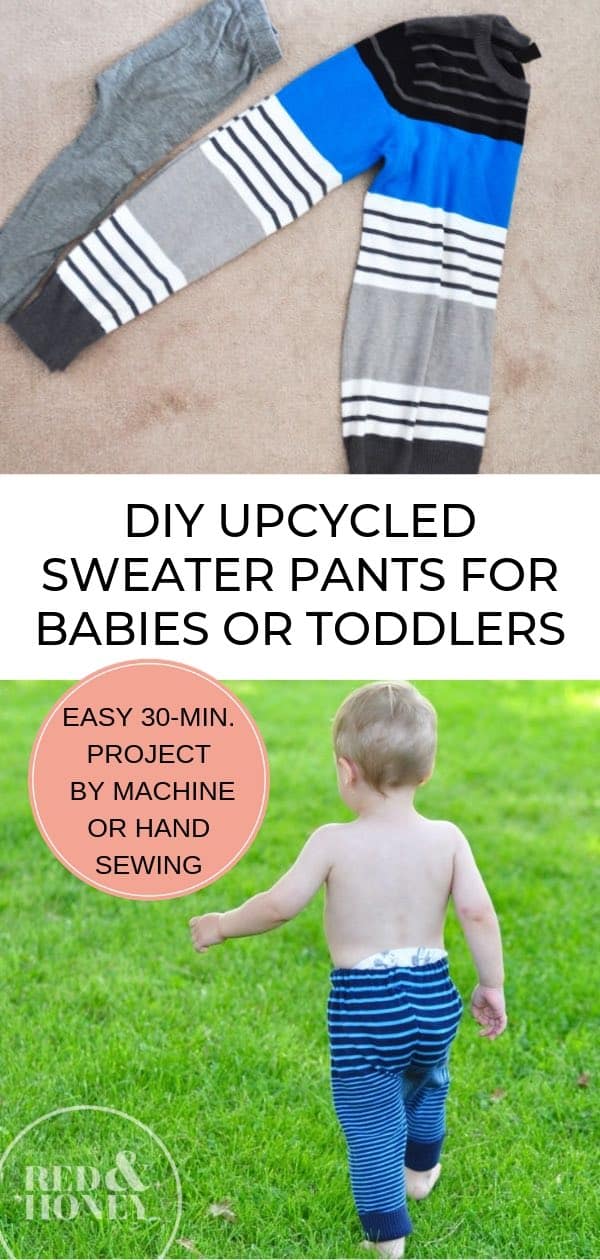
These upcycled sweater pants repurpose an old sweater, are super easy to make, and will look adorable on your baby or toddler. Get the easy step-by-step instructions below for both machine sewing and hand sewing. A great beginner-friendly sewing project!
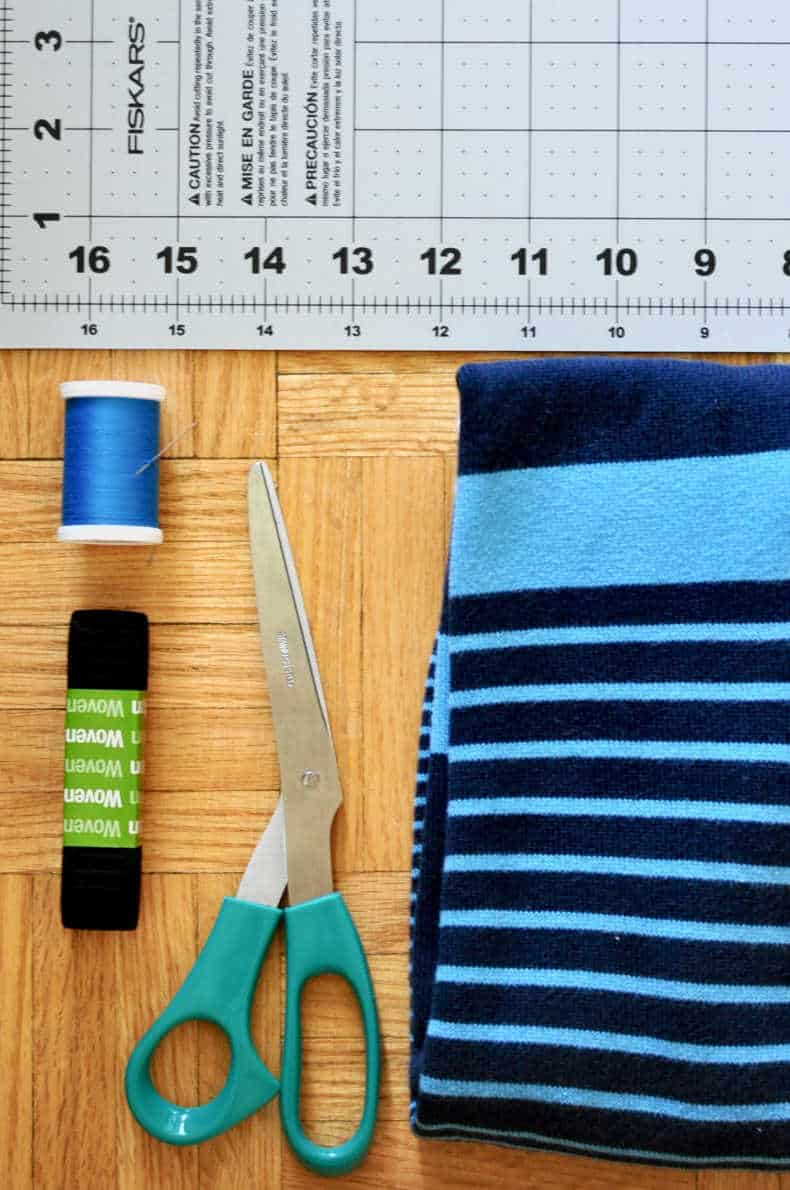
- Gather your supplies
Thrifted Sweater (wool or cotton knit works best)
Thread
Needle
Scissors
3/4″ elastic – long enough to go around baby’s waist
Sewing machine (optional: hand-sewing instructions included below)
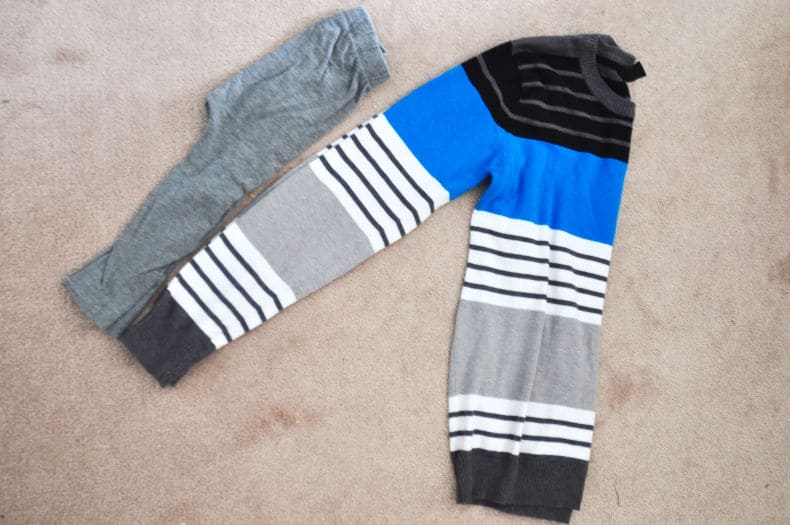
- Cut the sleeves off of the sweater
Cut along the seam to keep as much of the sleeve intact as possible.

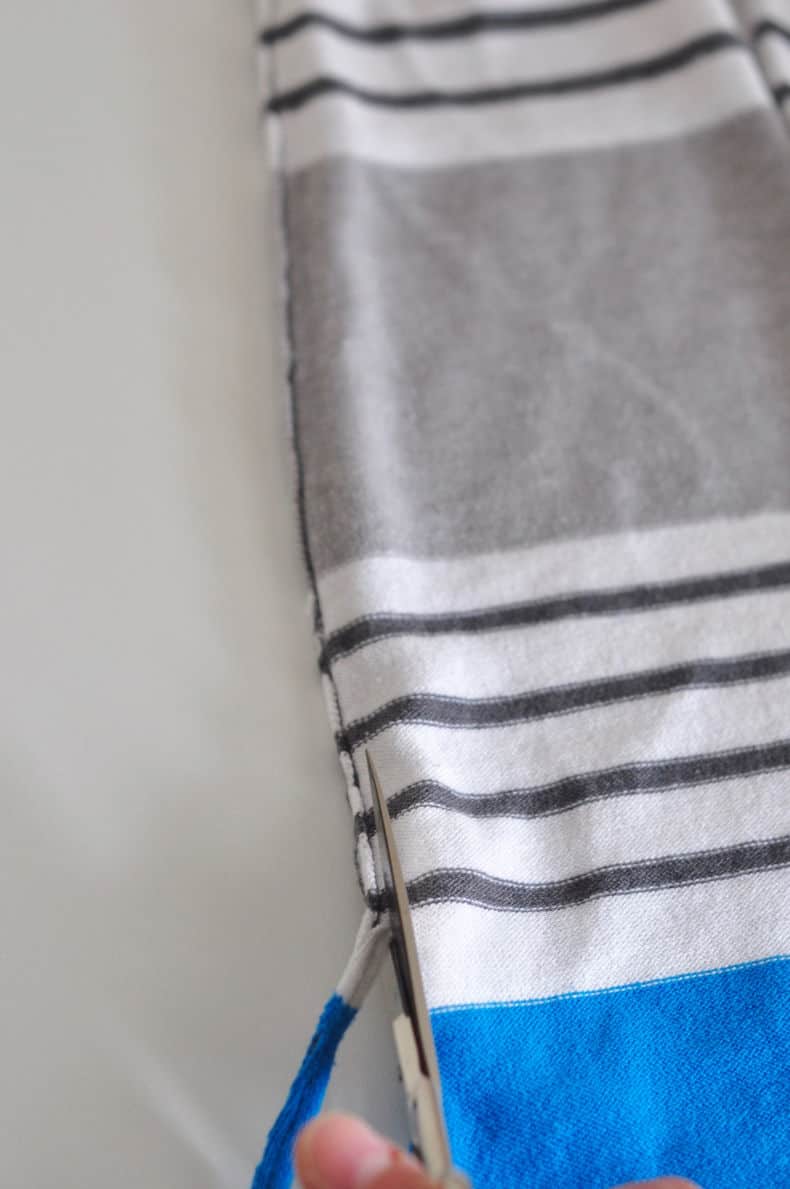
- Make a cut on the sleeves for the bum area of the pants.
Turn the sleeves inside out, place them side by side and cut halfway(ish) down the seam on the inside of each sleeve. If you have a pair of baby pants handy, you can compare how deep the cut needs to be to accommodate a baby bottom.

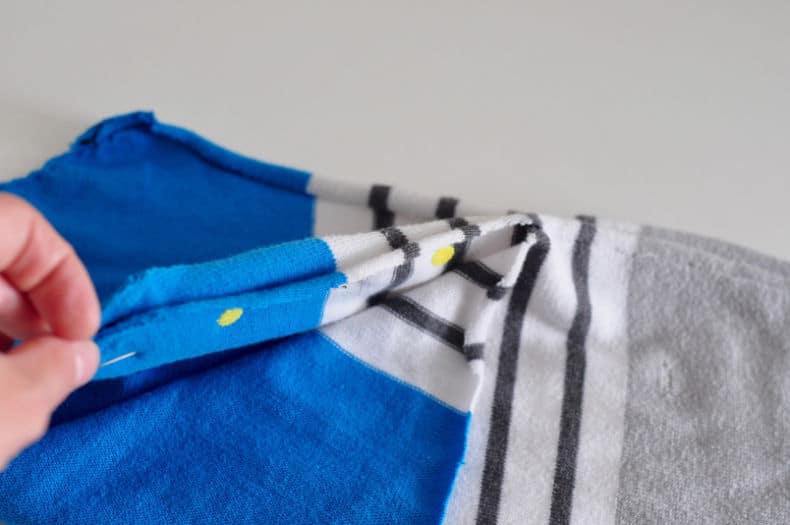
- Pin sleeves together
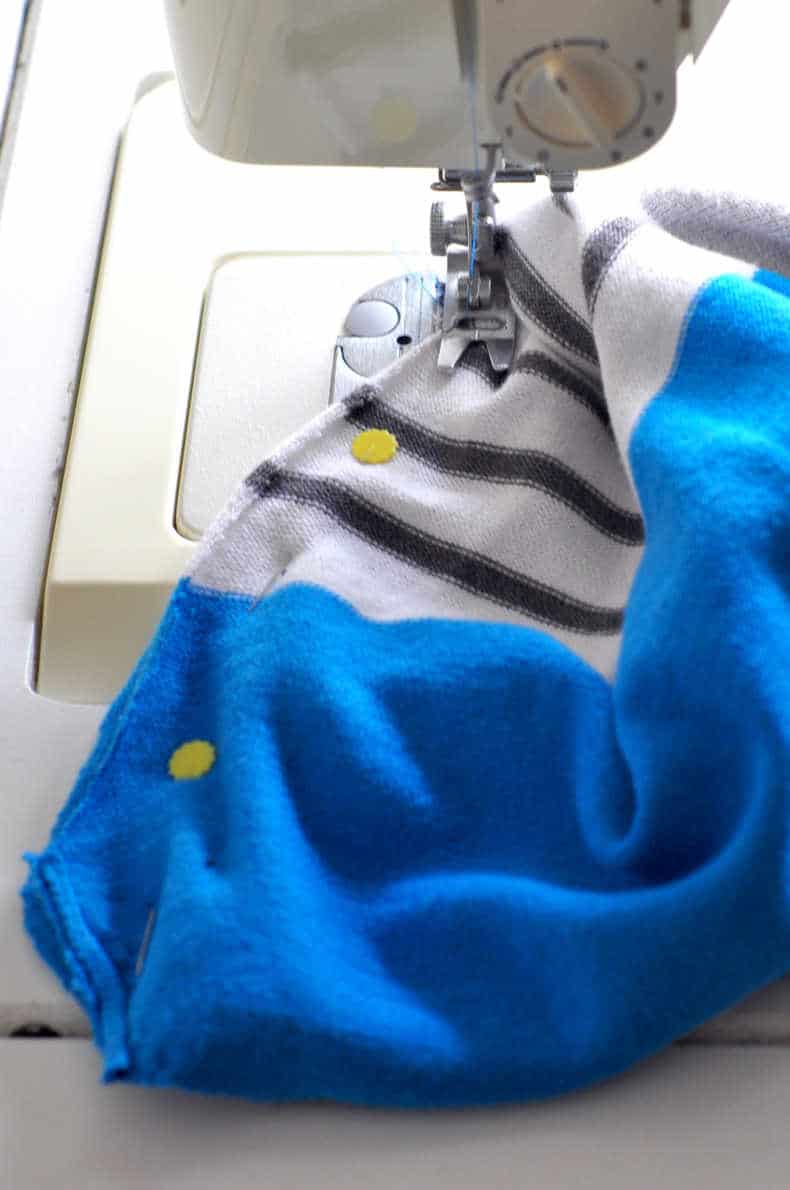
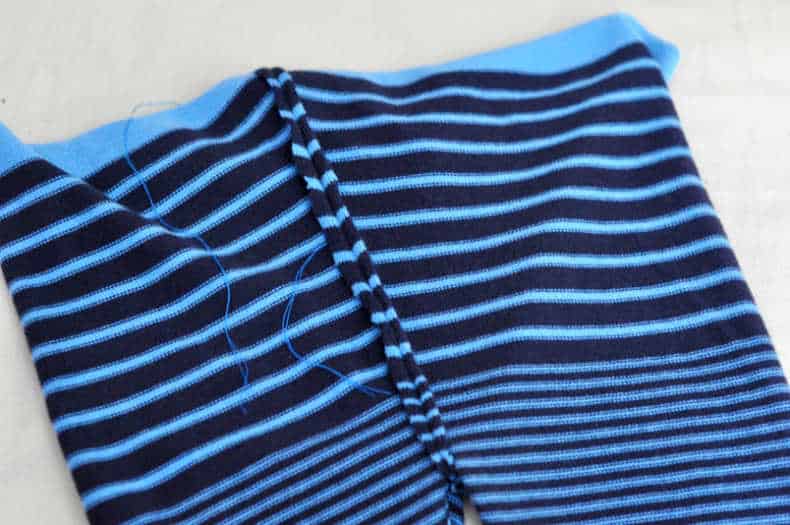
Both the front of the pants and the back of the pants are sewn the same way; you will pin and sew one side to start. You will always be sewing the “right side” of the fabric (or the fabric that is seen when the pants are on) pinned together. This creates a seam inside the pants.
With the sleeves lined up, right sides out, on top of each other, pin the second and third fabric layer together. You will be sewing these two pieces together to create a front/back seam.
You should see the inside of the pants on either side of the pins, the right side of the fabric is “inside the pins” and will create the front or back of the pant.
- Sew from the crotch up to the waistband
Leaving a 1/4″ seam allowance, sew from the crotch up to where the waist band will be. A straight stitch is fine for this part because of the way the fabric stretches.
Remember to reverse stitch at the beginning and end of your seam and to remove your pins before you come to them. You have now sewn the front or back seam of your pants!
- Sew from the crotch up to the waistband on the other side
For the second front/back seam you need to turn the pants inside out, in order to pin the other two pieces of fabric right sides together.
Leaving a 1/4″ seam allowance sew from the crotch point, sew all the way along the edge, up to the waist band, remembering to remove your pins as you come to them, and to reverse stitch at the beginning and end of your seam. - Sew an enclosure for the elastic around the waist
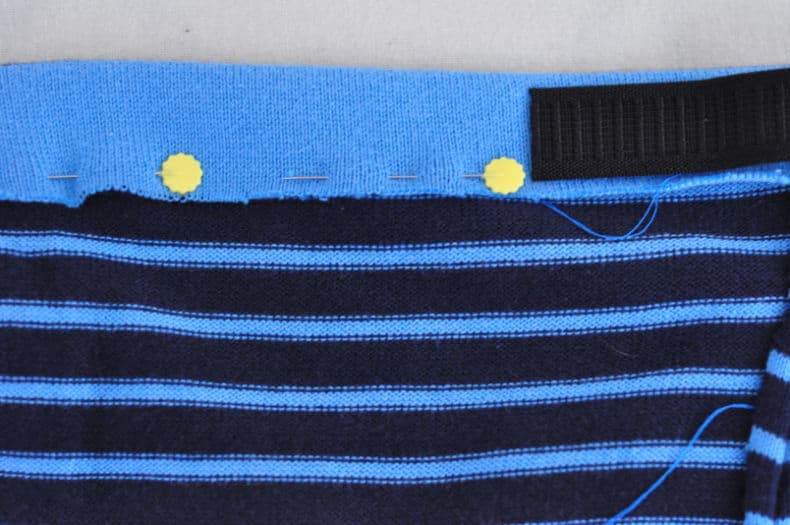
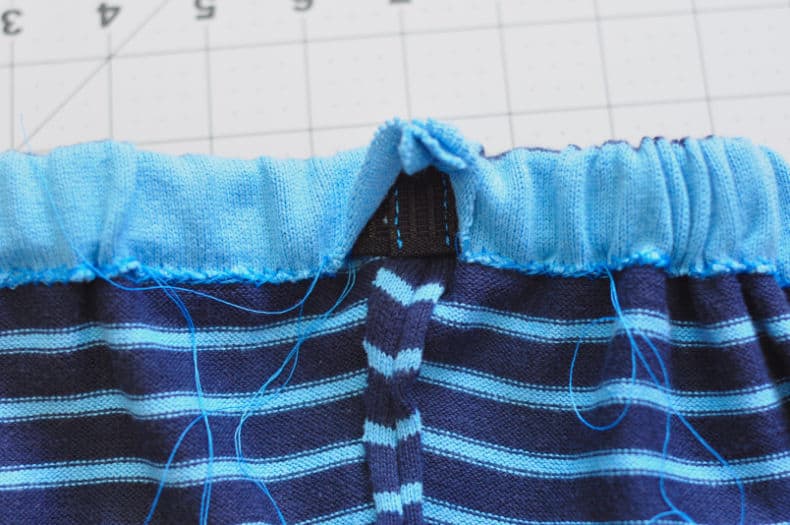
Using a zig zag stitch (to accommodate the stretch of the fabric at the waist band) sew a roomy section at the top and thread a piece of 3/4″ elastic through it.
Cut the length of the elastic to about an inch smaller than the baby’s waist. You want it to hold up the pants, stretch a bit but not be too tight.
Sew the ends of the elastic together (this is best done with a few hand stitches), and then sew the gap shut.
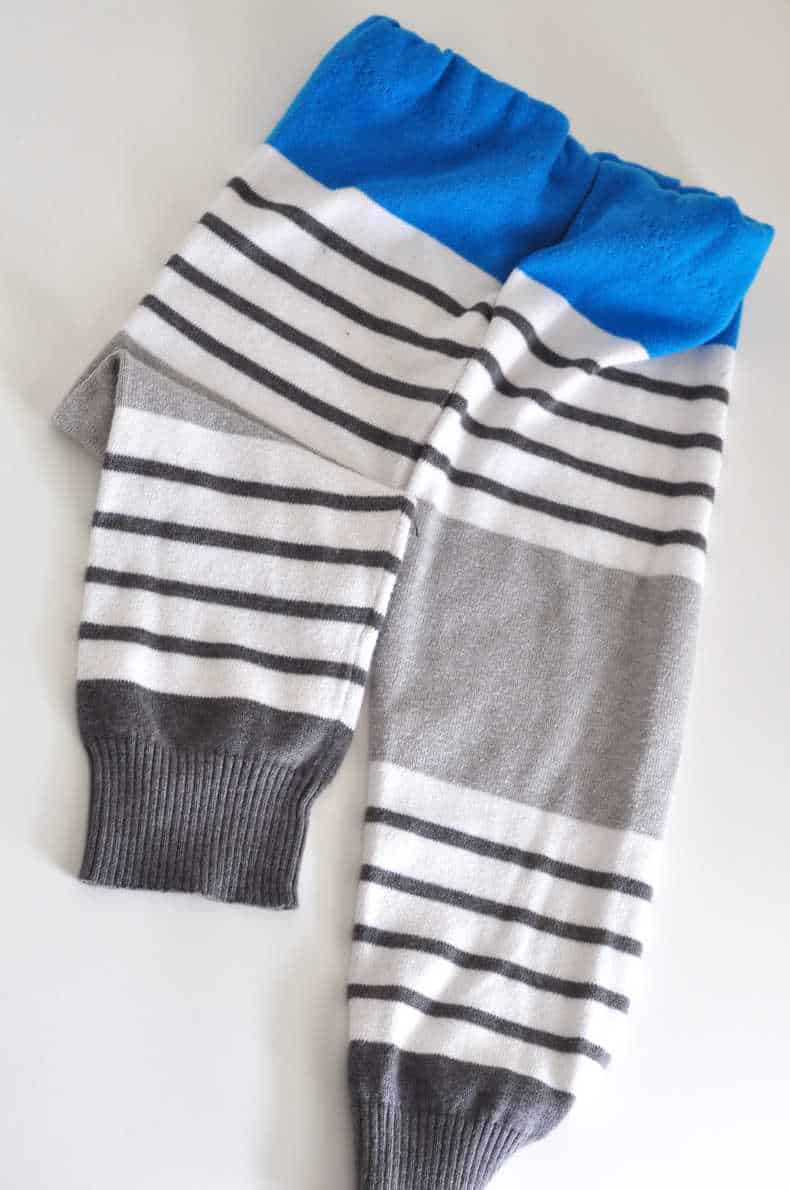
Turn the pants right-side out to see your finished product!
- Try them on!
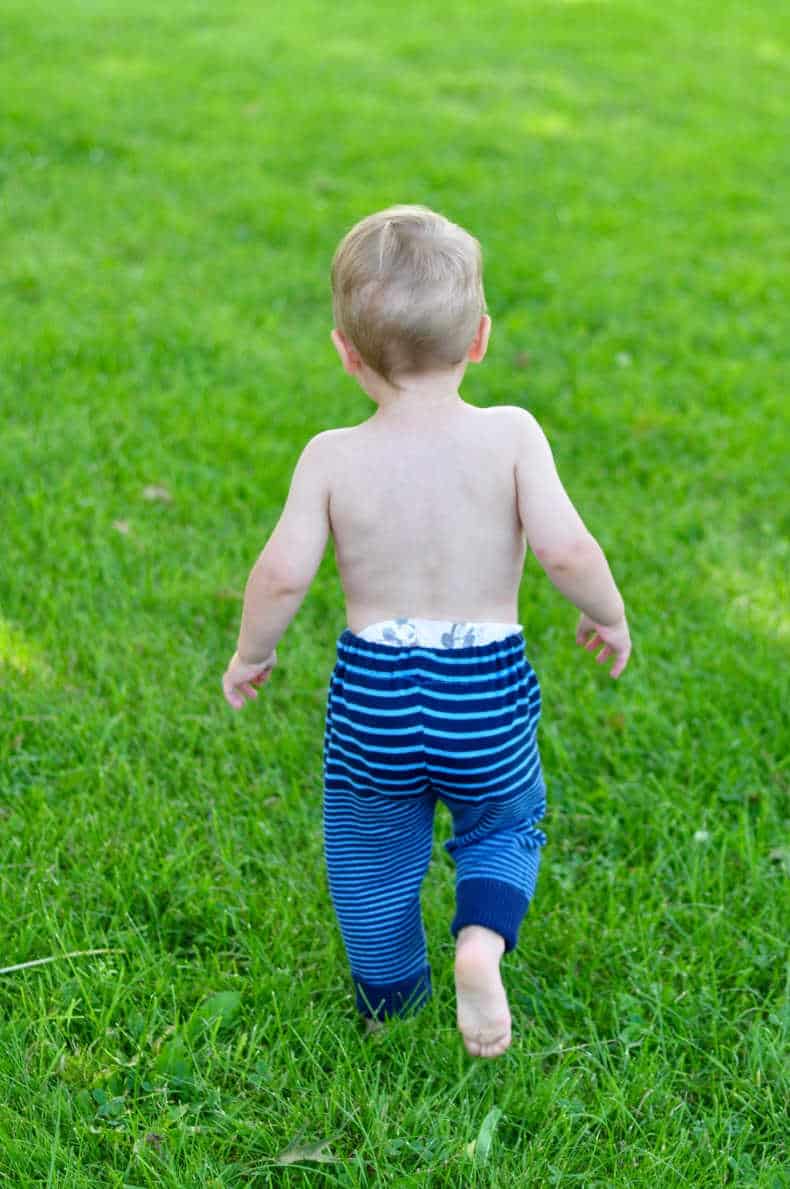
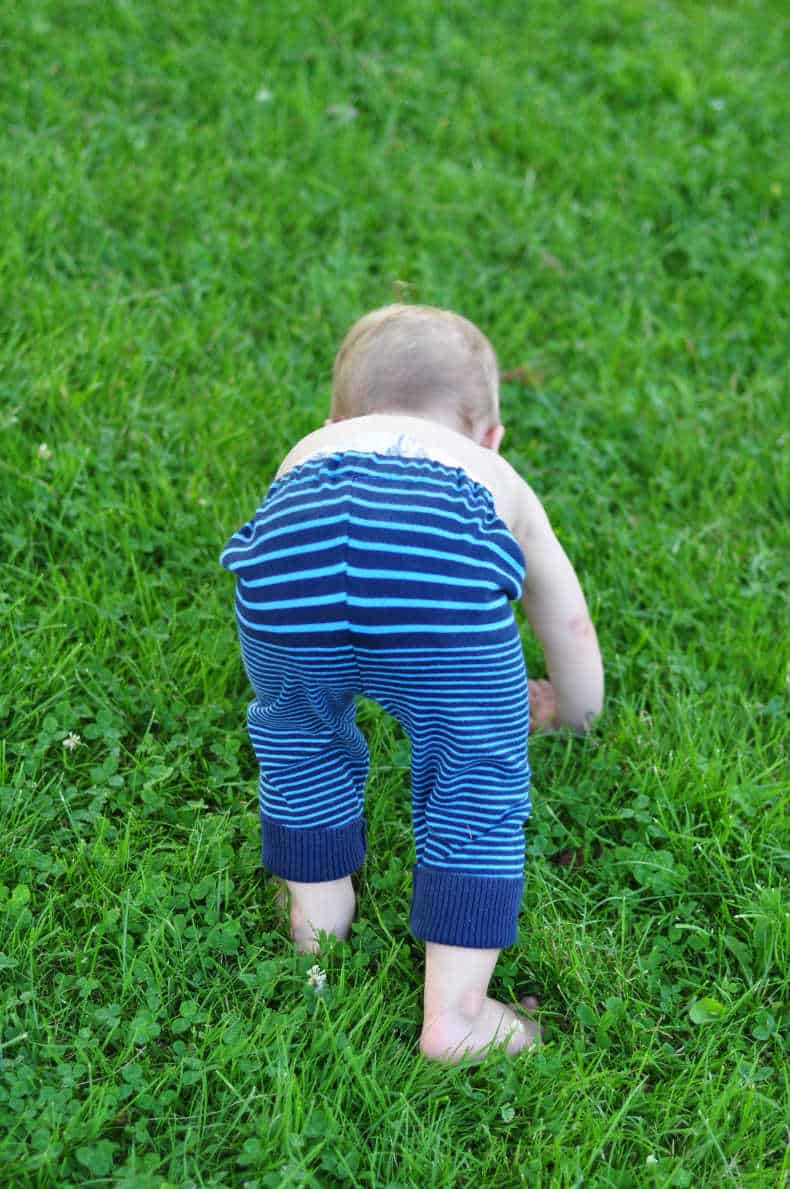
Find a ridiculously adorable baby to model. Take pictures. Feel uber-crafty. Optional: brag about your project on social media. 😉
For Upcycled Sweater Pants Hand-Sewing Instructions, See Below:
- INSTRUCTIONS FOR HAND SEWING:
Follow Steps 1-4 for upcycled sweater pants machine-sewn instructions, then continue here:
- Sew from the crotch up to the waistband
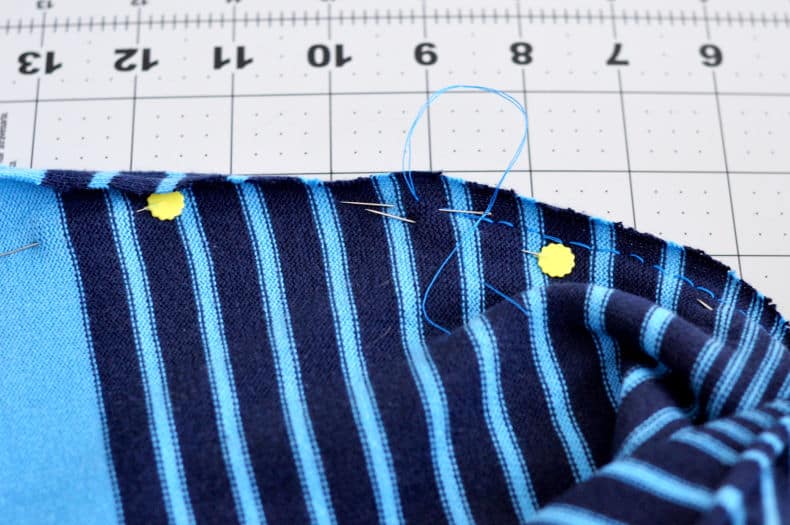
Leaving a 1/4″ seam allowance sew from the crotch up to where the waist band will be. Using about a yard of thread fold it and hold it double (this loop method is a great way of beginning), then back stitch up the length of the seam. (Back stitch is fine for this part because of the way the fabric stretches).
Keep your stitches 1/8″-1/4″ in length. You don’t want to work with thread that is too long as it can tangle, so you may need to start a new piece of thread a few times up this seam length. Just tie off your thread as it gets too short, and start a new piece the same way.
- Sew from the crotch up to the waistband on the other side
For the second front/back seam you need to turn the pants inside out, in order to pin the other two pieces of fabric right sides together. Leaving a 1/4″ seam allowance sew along the edge, in the same way as in Step Ten.

- Prepare the elastic waistband
Pin a roomy section big enough for the elastic at the top and thread a piece of 3/4″ elastic through it. Cut the length of the elastic to about an inch smaller than the baby’s waist. You want it to hold up the pants, stretch a bit but not be too tight.

- Sew the enclosure for the elastic
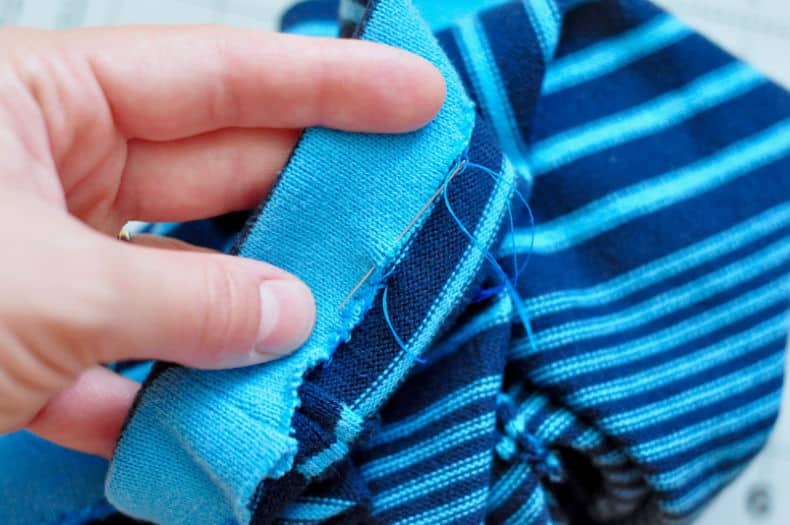
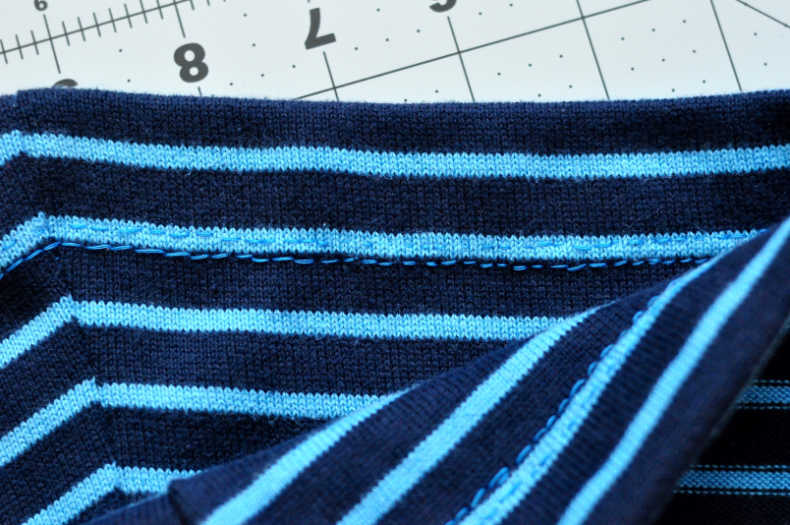
Using a hand sewn zig zag stretchy stitch (to accommodate the stretch of the fabric at the waist band, see here , here or here for how to) Sew down the waist band, leaving a 1-2″ gap.

- Take your time to keep it neat
This stitch will not be as precise as if you used a sewing machine, but if you take your time and use a thread that blends in, it will be fairly neat and tidy.

- Finish the elastic waistband
Thread the elastic through the waist band, sew the ends of the elastic together, and sew the gap shut.

- Admire your finished product
Congrats – you made an adorable pair of upcycled sweater pants! Try them on your baby and admire the cuteness! 🙂

And hey, while you’re in the sewing groove, why not make a batch of DIY cloth baby wipes? They’re awesome with cloth diapers, or they’re great as all-purpose household wipes, too. (Sticky kid fingers, spills – there’s always something!) Or you could make some DIY Cloth Menstrual Pads. Awesome for the environment, and more importantly, no more yucky harmful chemical-filled pads next to your lady parts. 😉
If you’re looking for Eco Friendly Holiday Decor, make sure you check out this post!
If you’re picking up a sweater at a thrift store, here are 5 Things to Buy at Thrift Stores (And 5 Things to Avoid)!
And there are many more DIY projects here:
Two Play-Dough Recipes {Gluten-Free & Original}
Easy DIY Reusable Snack Bags (Machine & Hand-Sewing Instructions)
Cute & Simple DIY Coasters (with no-sew option!)
DIY: Re-Usable Play Mat for Cars & Trains
How to Make Your Own Beeswax Tea Light Candles














ShopforOrgat
Very exactly right!
Krista
Aww, those are adorable! And the model is super cute! 😉
Krista
Beth
thanks all! nope, she’s not a redhead… just the light shining in on her head. we have amazing light from a big bay window, but really she doesn’t look like that IRL.
Michelle
Also – is Aliza a ginger like her mama? Looks like it in these shots!
Naomi
those are adorable!! i love it!!
Michelle
Eeek! Way too cute!
You’re making all your Christmas gifts this year? Me too! Too bad we can’t share craft nights. 🙂
Katrina
Nice job! I have no doubt you’ll be able to reach your goal of handmade gifts for Christmas!
Now if only I had the patience to make things (other than a mess).