By Kathleen Quiring
Growing up, my mom’s homemade fermented garlic dill pickles were always kind of famous.
And dill pickles were kind of a big deal for Old Colony Mennonites growing up in Canada. They’re a key element in faspa, the meal you serve your guests on late Sunday afternoons (a spread of homemade buns and condiments like jam and butter, along with peanut butter, cheese, coffee, pickles, and baked sweets). My friends and cousins would scarf the pickles down by the bowl full, and my mom would have to keep bringing out more jars from the kooma (storage room) to replenish them.
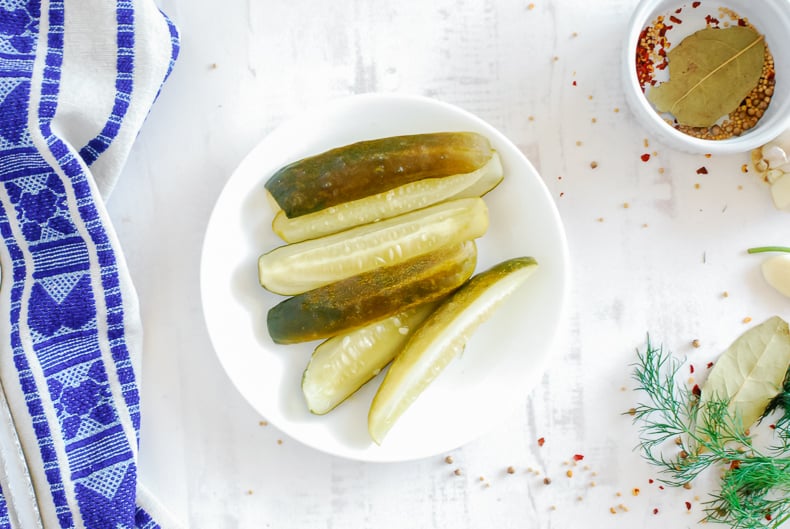
Needless to say – I have pretty high standards when it comes to dill pickles. Not too vinegary; plenty of dill; a hint of garlic; and the perfect balance of salt and pickling spice. And the cukes have to be just the right size – not too small and shrively, but also not big enough to have visible seeds. About the length of your index finger is perfect.
Lacto-Fermentation: The Original Pickling Method
In recent years, when learning about nourishing traditional foods, I discovered that pickles as we know them now – brined in vinegar and water-bath or pressure canned to preserve them – aren’t the same things that pickles once were. Canning is actually a pretty recent invention, and folks have only been doing it for a couple of generations. But pickling goes way back, long before electric stoves and factories.
Pickling didn’t originally involve vinegar or canning at all: it involved a process of lacto-fermentation – encouraging lactic acid and probiotics to preserve foods for longer storage.
I’ve also learned of the great health benefits of fermented foods, and have tried to slowly incorporate more in my diet – through homemade yogurt, sauerkraut, kombucha, fermented ketchup, and lacto-fermented vegetables.
If you’ve read anything about traditional foods (and if you’re a regular R&H reader, you probably have), you already know all about the benefits of including fermented foods in your diet to improve your gut flora. Fermented foods contain millions of probiotics which are key to good digestion and overall health.
I especially try to eat them throughout the winter, when fresh fruits and vegetables are largely absent from the table and my stomach is missing the live enzymes. The probiotics keep my family’s digestive systems running smoothly on all those heavy soups and stews.
Fermented Pickles are Perfect for Fermentation Beginners
One of the most palatable ways to get fermented vegetables in your diet, I’ve found, is through dill fermented pickles – they’re already a familiar food to most of us. Not everyone is ready to try kimchi or milk kefir. Fermented dill pickles, however, taste a lot like the vinegary type – just less acidic and more refreshing.
At first I tried the standard pickled cucumber recipe in the famous Nourishing Traditions, but found it a little boring. And, well, they didn’t taste like my mom’s.
So I took the principles of fermented dill pickles from Nourishing Traditions and combined them with the spices of my mom’s famous recipe.
And voila! A perfect fermented dill pickle was born!
How to Make these Homemade Dill Pickles
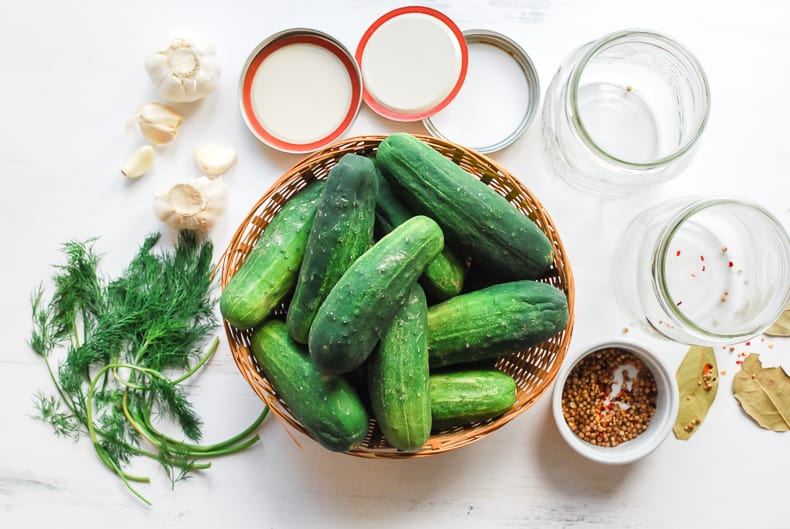
It’s actually incredibly easy for something so healthy and delicious! Basically – you’re stuffing a jar with fresh dill, garlic, and spices, adding cucumbers, then pouring your liquid over it. Then set it and forget it for a few days, and voila – fermented pickles!
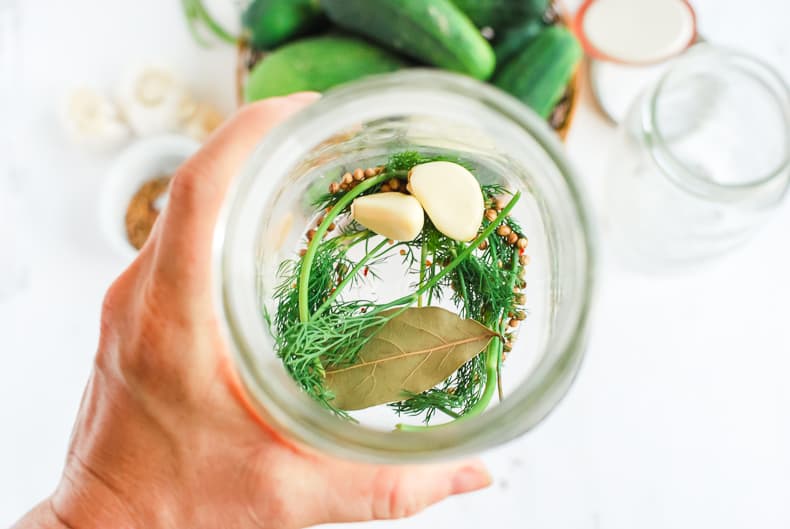
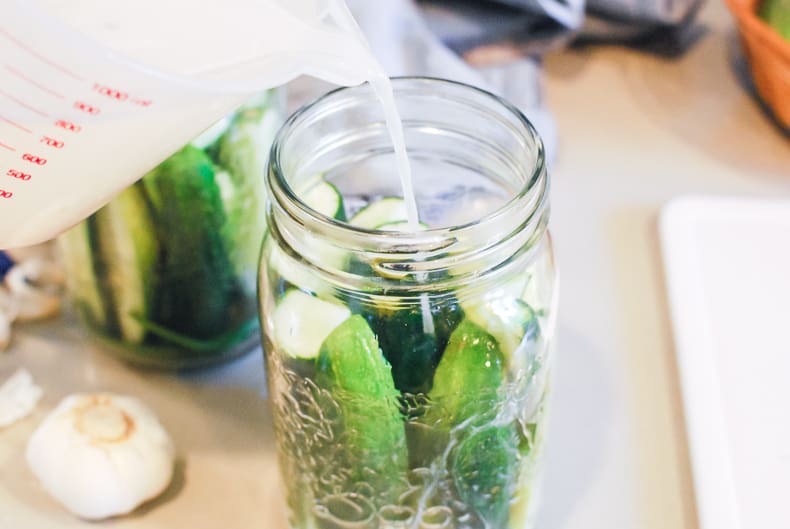
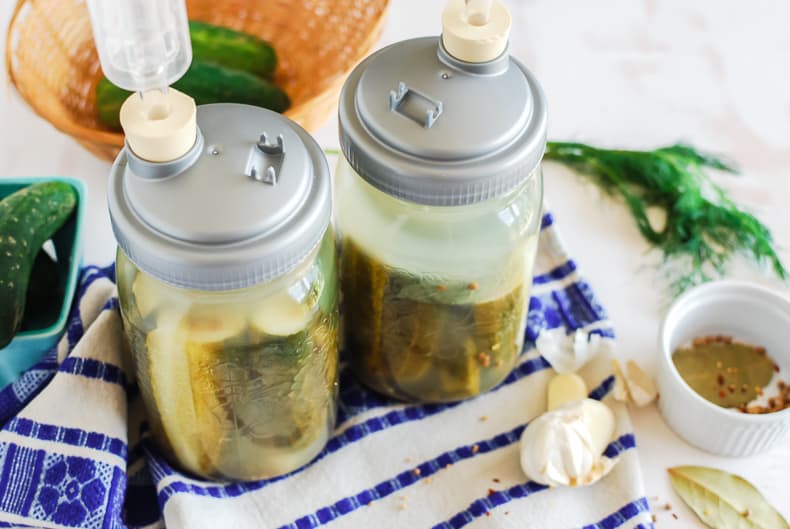
The liquid traditionally would be a salt + water combo (called a brine) but in this recipe we add whey (the liquid from straining yogurt) because it’s full of little probiotic buddies that will help kickstart the process and make sure it succeeds (as opposed to molding or spoiling).
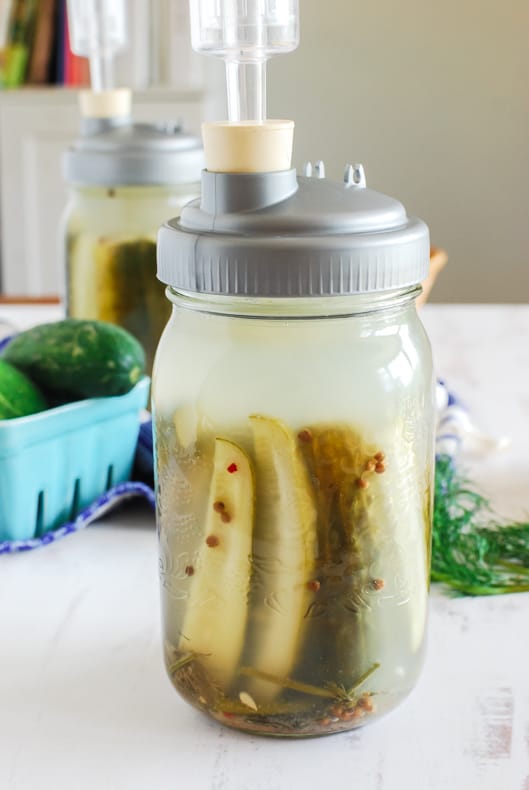
How to Store these Homemade Dill Pickles
Now, these do need to be stored in your fridge (or a very cool closet or basement, if you have one . . . which I don’t), so you probably only want to make one or two jars at a time. This recipe is for one quart.
My husband and I no longer serve our guests faspa, so we don’t go through a lot of pickles – two quart jars are generally enough to last us the year.
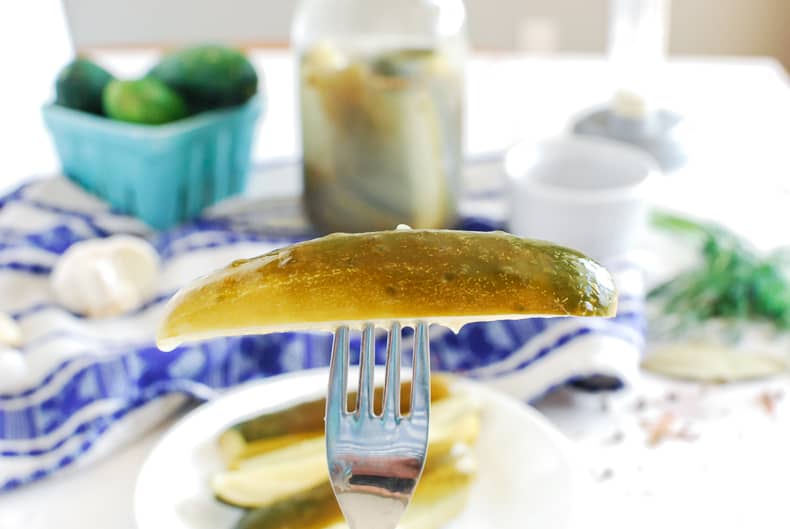
I first made a batch with this recipe in July of 2012, and I was thrilled to discover that by the following January (that is, six months later), they were still as crispy as the day I put them in the fridge. Amazing what a few (million) bacteria can do!
Notes & Tips
Like I said above, I use whey to kick-start my ferment – the kind you get when you strain yogurt. (Homemade or store-bought plain yogurt is fine, as long as it has live cultures.) Whey supplies lactobacilli and acts as an inoculant against spoiling bacteria, allowing lactic acid to be produced and preserve the cukes. Salt alone can do the job, but I prefer to use whey as insurance.
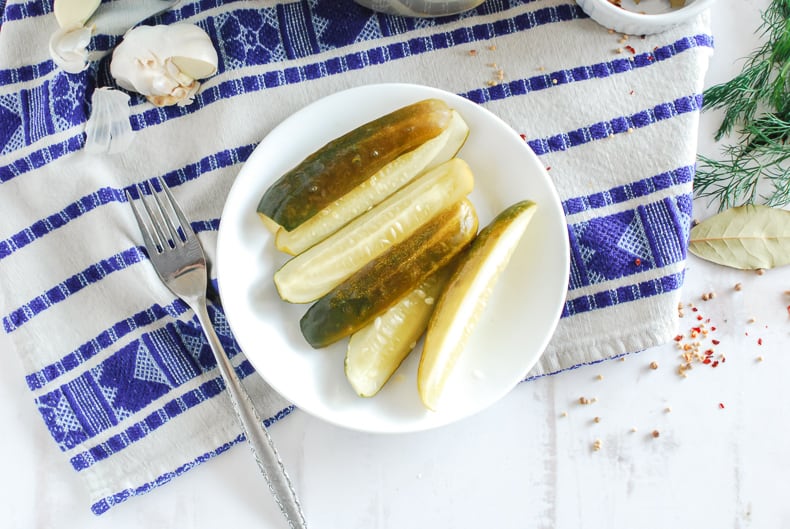
Also: the process of fermentation creates a brine that looks very different from vinegar-brined pickles. The liquid will get cloudy and perhaps a bit bubbly. That does not mean anything has gone wrong. In fact, it has gone quite right! The pickles inside will look perfectly normal and delicious.
And the best way to tell whether your ferment has gone well is to smell and taste it. If it goes bad, you will know it. It will smell rotten and awful. If it tastes pleasantly sour, you’re good to go! The good bacteria won!
Recommended Tools & Equipment

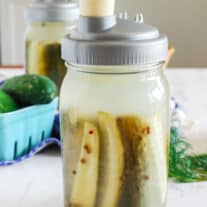
I use these airlock lids on most of my ferments because they protect my ferments from spoilage, but let air bubbles escape to avoid pressurization or exploding. (Yes, it has happened – not to me thankfully!) I love that this set includes the silicone plugs to put in the hold once you’re ready to remove the airlock and transfer the jars to the fridge.

I tried getting away without buying fermentation weights but eventually I caved, and they are THE BEST. I love how easy it is to make sure the food stays below the liquid (important to avoid mold). I have a slightly different set, but if I could do it over I’d buy ones like this with a grip on top to help get them out.
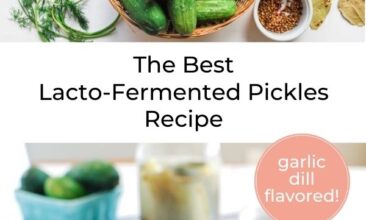
Lacto-Fermented Garlic Dill Pickles
Ingredients
- 5-10 pickling cukes
- 1 tablespoon pickling spice
- 2 fresh dill flowers
- 1 bay leaf
- 1 clove garlic
- 4-5 whole peppercorns
- 1 cup filtered water
- 4 tablespoons whey
- 1 tablespoon sea salt
Instructions
- Wash cucumbers well and trim off blossom ends (this will help them stay crispy).
- Place pickling spice, dill, bay leaf, garlic and peppercorns in the bottom of a quart-sized wide-mouth mason jar.
- Stuff the jar with cukes, standing vertically, to fill the bottom. If you have room, lay a few cukes on top. You’re going to want to cover them with liquid, but have about an inch of space on top, so stuff your jar accordingly.
- Mix brine (water, salt, and whey) together in a measuring cup; pour over cukes in jar. Add more water as needed to cover cukes completely. The top of the liquid should be at least an inch below the lip of the jar. (Fermentation weights are not required but are recommended – see post above!)
- Cover tightly and keep at room temperature for about three days to let the salt and the probiotics in the whey do their magic. The brine will become cloudy and possibly bubbly; that's perfectly normal. (Airlock lids are not required – see recommended tools in blog post above), but are awesome to use. You could use a regular lid if you want, and burp it, i.e. open/shut it once a day.)
- The best way to judge their readiness is to taste them. If they’re pleasantly tart and crunchy, they’re ready to go into the fridge (or other cold storage area, if you have it.) Enjoy within the next six months!














Monica
I just recently found this recipe and have at this point made it twice. The first time I let it ferment 3 days and although the taste was very good they turned out mushy(my fault not the recipes). The second time I used the right cucumber and since it was super hot so I only let them ferment 2 1/2 days. These were excellent, just like I remember the pickles I used to get from the corner store as a kid(anyone who grew up in Philly in the US will know what I mean).
Mary
Being a low German former Mennonite from Mexico, in Iowa, it is a shock to see the word faspa in a Pinterest post?
Billy
I love lacto fermented pickles! These look absolutely delicious. Thank you for sharing this! Can’t wait to have some gut-healthy pickles to share with the family!
Lynette Barton
Can I make the whey myself by just straining plain live yoghurt? Can you explain how you do it please?
Beth
I believe you can. Come back and let me know how it turns out if you try it!
Brandon
You can! You can either buy a commercial yogurt strainer or hang it wrapped in cheese cloth.
I make my own Skyr using 1 gallon of 2% milk and usually end up with 2 liters of whey after straining. If fermented right, the whey should last up to 6 months in the fridge. If you ever foray into yogurt making you will get less whey, but more so than straining the store bought stuff.
Amber
What type of cucumber can I used if pickling cucumbers are out of season? Would small Persian cucumbers work?
Kelea
Hi Kathleen, I am excited to try your recipe for cucumbers, it sounds delicious. I am wondering, is it possible to can the pickles after fermenting them so I can make a large batch and keep them longer?
Diana
Is there something I can use instead of whey? I’m not sure I have any right now.
Kathleen Quiring
Hi Diana! I know that plenty of people lacto-ferment with just salt to encourage lactic acid production; I’ve just never done it so I can’t guarantee the results. I understand that it just takes a little longer. You might check out this article: http://phickle.com/index.php/we-can-phickle-that-tricky-pickle-edition/ (In the article, the author says pickling cucumbers is very difficult. I wonder if it would be easier if she used whey?)
Kellie Musgrave
I cannot have any dairy products. Would I just increase the salt amount if not using whey? Also does it have to be a pickling cucumber or are other cucumbers ok?
Joan
Can you use more whey and less water? My whey is from making kefir cheese using 2%kefir milk and I would like to use more than 4 tablespoons per jar rather than making more jars than I can safely store or use. There’s just the two of us and I’ll be making more cheese.