{when a placenta is spread out it resembles a tree, which, like the placenta, also symbolizes life}
:: WARNING :: GRAPHIC PHOTOS INCLUDED IN THIS POST.
I do believe this is the farthest into crazy crunchy hippie territory that I’ve ventured thus far. A couple of years ago when I first heard of people burying their placenta under a tree as a symbol of life I thought that was weird.
Now? I’m nearly forty weeks pregnant with my third child, and planning to encapsulate and consume my own placenta in order to reap the many health and postpartum healing benefits as has been done in traditional cultures for thousands of years.
I wrote an article for Frugal Granola a few months ago on some of the history and benefits of placentophagy (the act of consuming one’s own placenta after birth), and one of the commenters with a placenta encapsulation business in Texas very kindly offered to answer my questions and give advice as I went through the process.
A friend of mine here in Tiny Town just gave birth to a beautiful babe on Wednesday, and knowing that I was planning to encapsulate my own placenta, asked me to do hers as well. I nervously agreed, since I had never done it before. Dana’s instruction and guidance was invaluable to me as I went through this process, and she has given me permission to share it here as well.
The Process
The placenta was dropped off by K’s husband where it was stored in my fridge (it was stored in a hospital-grade bag then double-bagged again, in case you’re wondering). The optimal time to process a placenta is within 3-5 days, and I started on the evening of day 2. It was an overnight process, as it required 12 hours in the dehydrator.
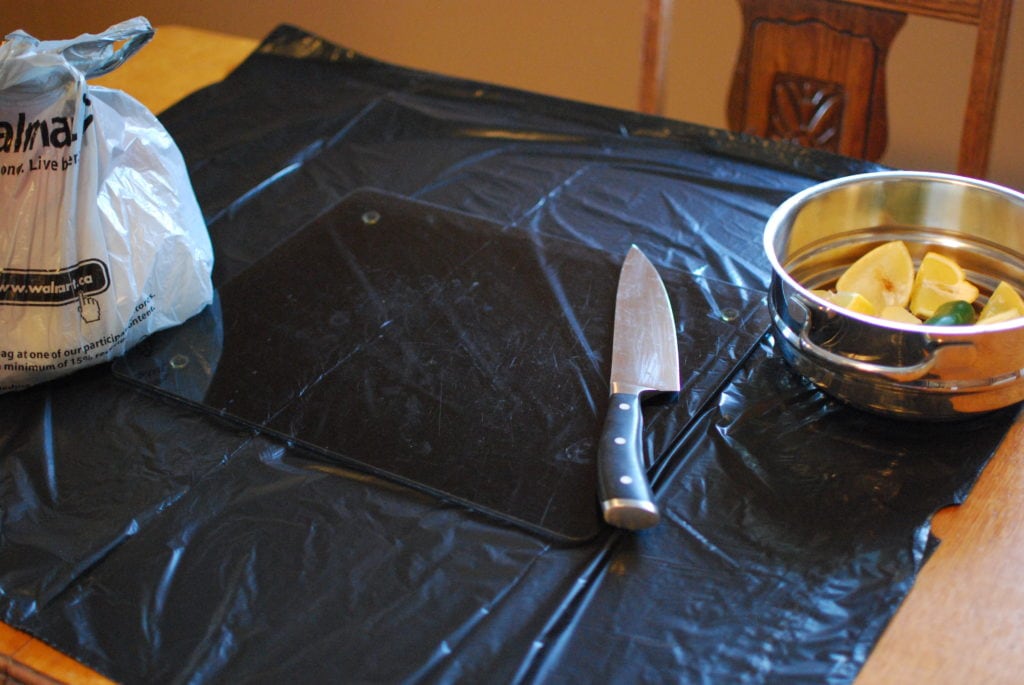
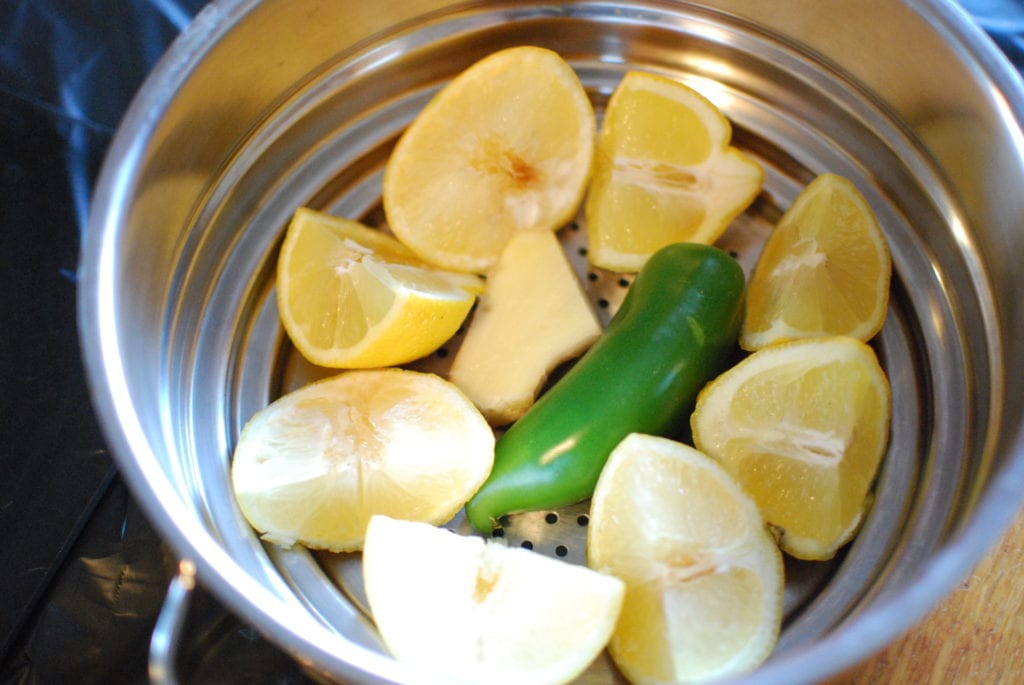
I began with spreading out a garbage bag over my table, and setting out my glass cutting board and knife, along with the steamer pot ready with cut up lemons, a jalapeño pepper, and a hunk of fresh ginger.
(Optional: Lay the placenta out on a canvas to make an artistic print. Check out the photos on Dana’s site to see some examples).
Dana explains the purpose of these in the TCM (Traditional Chinese Method): “The lemons are an astringent, the ginger and pepper are blood warming and help to move things along in the blood stream. Remember that this is following the Traditional Chinese Method. If you don’t use any of them, you are still going to get the benefits of your placenta but these things are definitely helpful.”
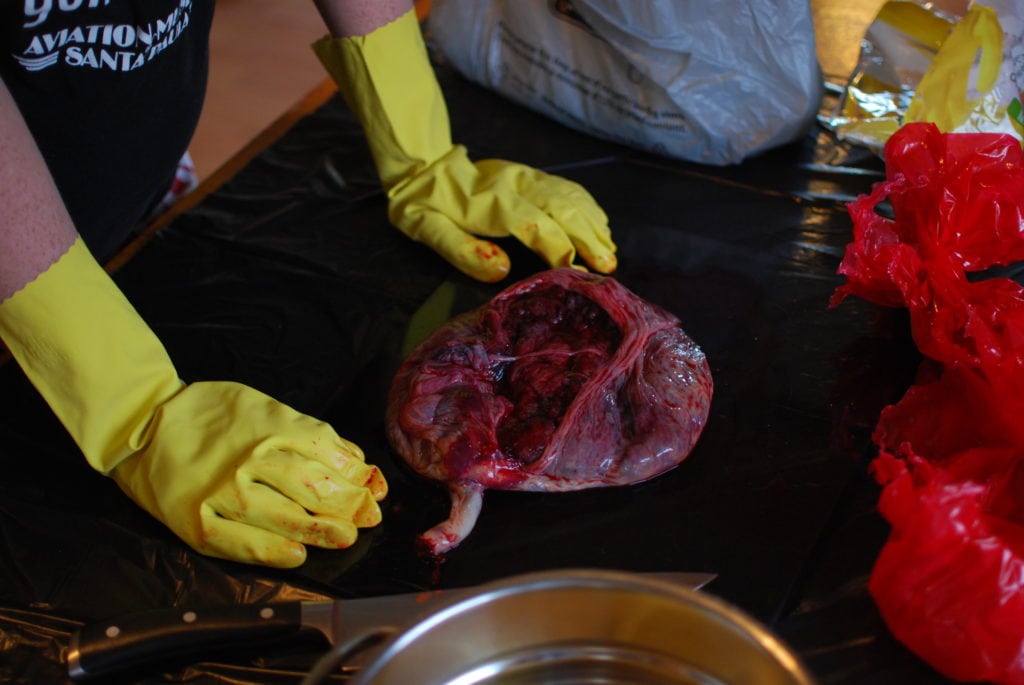
Once you’ve unwrapped the placenta and laid it out, cut the cord off. Optionally, you can reserve the cord to shape into a heart and dehydrate as a keepsake (I chose to skip this step, as the cord had already been mostly cut off).
FYI: If it’s your first time handling and seeing a placenta or anything bloody there may be some “ick factor” to deal with. This part was a little crime-scene-esque for me, but nothing I wasn’t able to handle overall. I almost felt like I was in medical school or something.
Then rinse it under running water, gently massaging it for 5-10 minutes to get the blood out. Dana says “getting the blood out is not a necessary step but I do so because it tends to irritate the stomach for some”. The placenta should lighten in colour after this step.
Place it in your steamer basket that is ready with the lemons, pepper, and ginger.
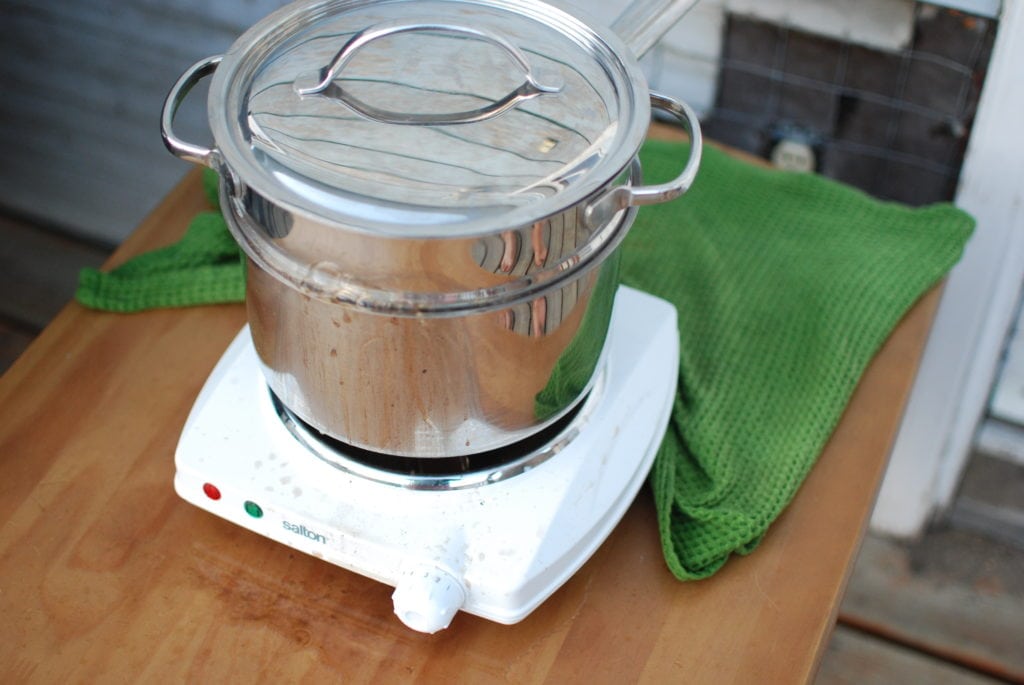
Steam the placenta for 20 minutes. I used a hot plate burner out on my deck in case there was a lingering smell. (I didn’t want to take chances with my sensitive pregnancy nose – as it turned out the smell of the ginger was the grossest thing for me, the placenta didn’t really smell much).
Be careful not to add too much water to your pot like I did – mine kept overflowing all down the sides and into the burner (which was really hard to clean!) and onto the table, which, I’ll be honest, just grossed me out. My Hubby was helping me and he didn’t think it was gross at all, so it’ll really depend on your own “ick factor” level!).
When it is done steaming (and it’s best to err on the side of underdone), cut it into 1/4 inch slices. Place on parchment paper (for easier clean-up) on your dehydrator tray, and dehydrate at 118 degrees for 12 hours.
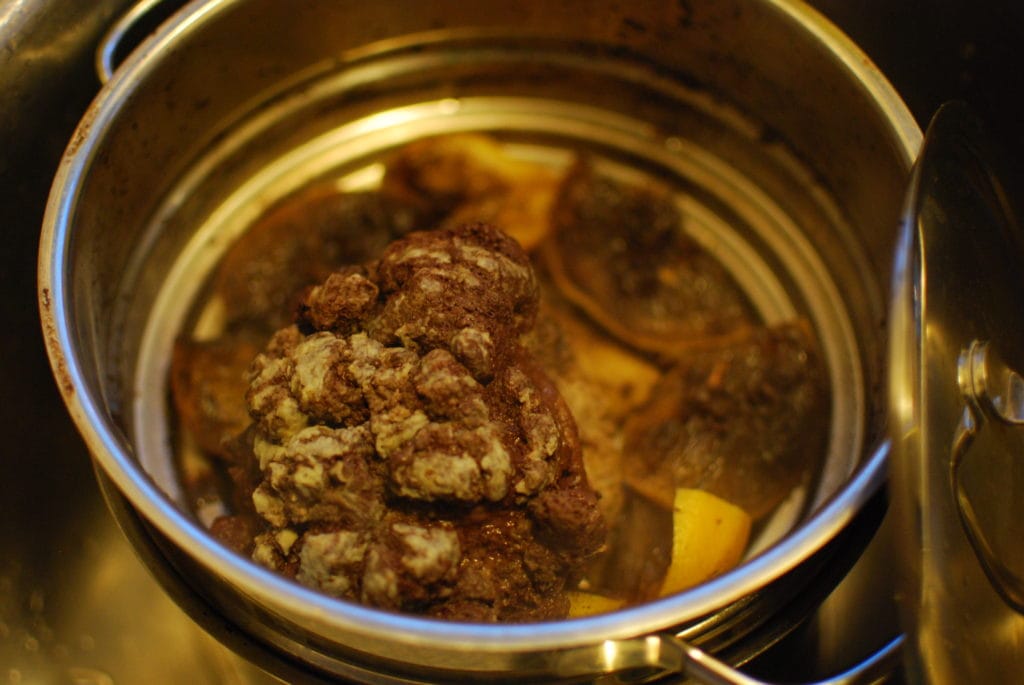
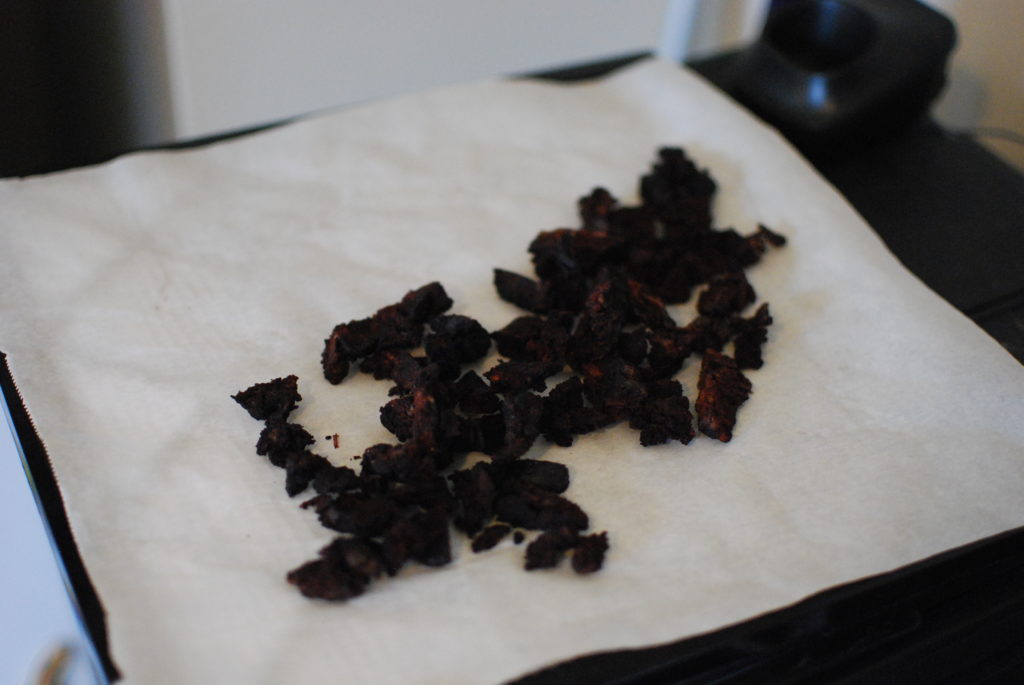
This is it after dehydrating. Little pieces of placenta jerky… mmm (yes, I definitely curled up my nose at this thought, too!). Once it’s done dehydrating (I began the process in the evening so that I could dehydrate overnight – I didn’t want to have to get up in the middle of the night to take it out!), then you need to grind it into a fine powder. A food processor, Magic Bullet, or coffee grinder could all work. I used a food processor.
Once it is in powder form, it is time to encapsulate.
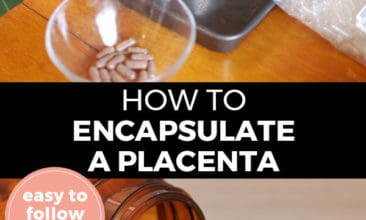
Though this was the part that I was afraid would be the most difficult, it was actually quite easy. K had bought empty capsules (size 00) from the health food store here in Tiny Town. I simply opened a capsule, scooped some powder into each end, and put the capsules back together. Easy-peasy. This was the least “icky” part of the whole process for me, though it was a bit time-consuming.
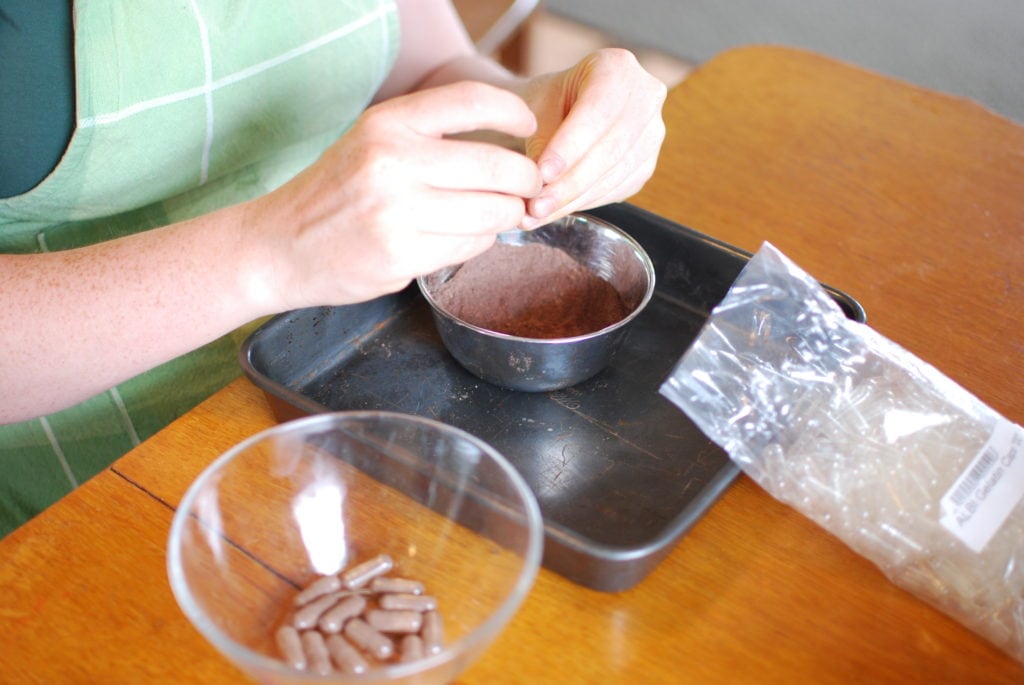
Unfortunately things got crazy in my house with a friend (and her two kids) here to help me cook a bunch of freezer meals for my upcoming postpartum period (which was so amazing!), so I totally forgot to take a photo of the finished product in the cute little jar I found in my cupboard. It was a great sense of accomplishment!
The capsules should be stored in the fridge in a dark glass bottle. If you are interested in dosage information, feel free to email me!
Would you ever consider encapsulating your placenta? Do you have any other questions?
Disclaimer: I am not a doctor or medical professional, and this post should not be taken as medical advice. Please do your own research. Material on this blog is provided for informational purposes only. It is general information that may not apply to you as an individual, and is not a substitute for your own doctor’s medical care or advice.














Kalee
What is the dosage that you used? I have been told a few different things so just curious what you did.
Thank you.
Taylor
What is the dosage for the capsules?
Genesis
I have a question? My placenta it’s been in the freezer for 3 and half months. I still can doing in pills and tincture?
Chelsea
Thank you for writing up this info! We have done my own and a couple of friends but it’s always nice to get a quick reminder before doing one!
Beth
I hope it goes well for you, Chelsea! Glad it was helpful. xo
Katie March
Which capsules did you purchase? About how many would I need? Is there a “healthy” capsule vs. dangerous product capsules can be made out of?
Naomi
I had my first son back in July 2014, I did the DIY Placenta Encapsulation at home right after I was released from the hospital.. I noticed that after I encapsulated my placenta, put the pills in a mason, stored in my fridge. That after about a week or so mold started to form. Would you happen to know why? I did the dehydration method by using my own oven on the lowest setting.. I am due with baby #2 in February and would like to encapsulate my placenta myself again. I would hate for the pills to get moldy.
Michelle Ochoa
Hi Naomi- I can guess but not say for sure, but likely the first round went moly because they were refrigerated. While the placenta was dried out, the capsules can be compromised by any moisture in the air. Moist pills, food, fridge- usually equals mold. For this next round- make sure your placenta is well dried before encapsulating. When I have used an oven instead of a dehydrator, I put them in the oven on middle shelf at 150 degrees and leave in the oven overnight, usually 8-12 hours depending on the sizes you cut the placenta. As for storage, make sure they are in a dark bottle, or if it’s a clear bottle, leave it in a bag so they’re limited to light. You want to store them in a COOL place, not a cold place such as the refrigerator. In your medicine cabinet or pantry is fine- again limit the light exposure. Good luck!
Karlei
I usually find an absorbent packet in a bottle of supplements or vitamins I have on hand that is almost gone to toss in with the placenta capsules, just to help with preservation.
Tress La’Ree
Freezer storage is best. Refrigerator has to much moisture.
Brittney H
What would be the recommended amount of capsules to take daily?
Liz
I know it’s been a while since you wrote this article, but I just wanted to say Thank you!! After first being completely ickked out by the idea of eating one’s own placenta a few months ago, I looked into it nd got completely convinced it is a really healthy thing to do and am completely sold on the idea! I looked into the cost of having it encapsulated locally and discovered the one person who does it charges $350. I was ok with $200, although really even that is expensive, cause it’s basically the same processes as cooking, but at $350 I started thinking DIY, lol. I DIY a lot, but this seemed like a little more than I could DIY, especially days after giving birth. Then I happened upon your article and now I’m sold on that too! I just cooked some liver pate and I think it was more involved than this. I can do this! I was afraid there was some sort of secret technique, but this is even simpler than I thought. Thank you sooo much for sharing this!
Beth
Hurray!! I’m so glad that this was helpful to you! The costs are pretty high to get it done, but yeah – the benefits are huge. That’s exactly why I DIY’d it too. Congrats on the upcoming birth! xo.
Colbi Smith
I had not considered doing this myself and I still don’t think I would be able to, especially only a couple days after giving birth. Maybe my husband would do it and save us $200. That being said, it was well worth the $200 to pay our midwife’s assistant to do it for us last time. It was my third pregnancy and I recovered very well. My first two it took about a week for milk to produce. My second I had horrible depression where I had to be medicated and stop nursing completely at three months.
The third recovery, with placental encapsulation, and a natural home birth, I felt a big difference. My milk came in almost too well, but that was better than not enough, I just expressed a little before each feeding and the baby did fine. I had to take about 6 placenta capsules a day for the first week to fight depression but was able to gradually use less and less until I didn’t need them anymore and even had a few left to save for a bad day. I had 200 capsules and they lasted me 2-3 months of taking some daily. The placenta was dehydrated and encapsulated as shown, though I’m not sure if lemon, ginger, and jalapeno were used when steaming. Not only was my mood better, but my energy as well.
I told my sister about placental encapsulation for her first pregnancy. She struggled with depression before pregnancy. She also said that it made a big difference for her, to my knowledge she has not had to use any medication and her baby is 4 months old.
To me the ick factor of taking the capsules was much less than the ick factor of having to take a medication to keep me, and my family, safe and sane after pregnancy. I plan to do this again with my fourth baby due in a few months.
Amber Scorzelli
Thank you for sharing the details! I didn’t know you could take mode than one a day. I’m trying to find more info on this and it seems quite difficult to get details on anything about it. Also, congrats!!! And I’m so glad to hear this worked for you and your sister!! Wonderful news! ?
Ra'Co Life
We love this post! And if you are still on the fence and interested in another video of how to do the Raw Method, here is the Ra’Co Life way:
Check out our post: http://www.racolife.com/placenta/
Check out our video: https://youtu.be/nRpyiJGmG4E
If you want to know more about why we did it:
Let’s start with the fact that I am not a hippie dippy kind of gal. Actually quite the opposite… I am pretty practical minded and conservative. I do eat organic, a lot of raw food and gluten free, but a lot of that is due to food allergies, weight control and health. My interest in placenta consumption stems out of pure desire to connect with my baby and to focus on preventative care.
We dehydrated and encapsulated our daughters placenta in 2013. I had no depression and a very smooth transition into motherhood, including milk production. There is no sure thing, but if it helps, why the heck not?
Sarah
This is a spin off from Jewish male tradition. The foreskin after circumcision is placed at the bottom of a tree. This has been done for 1000s of years
Erika
This is a very interesting topic of discussion. I will have to look into this process a little more. Thanks for sharing.
Diana Dupree
I could do this! How much do you charge and where do I get more info?
Kate
Hello,
I realize no one has commented on this in a while, but I find it rather fascinating. I was considering having it done but was told it was a couple hundred dollars in my area and thought it would be so cheap to do it myself! However, mine has been in the freezer since November 16th 2014 when my daughter was born. I don’t believe it was out very long before it was frozen. However, I noticed you mentioned its best to dehydrate it within so many days of birth. Is mine any good still???
Thanks!
Kate
Amanda
I actually recently discussed placenta encapsulation with my midwife. If it is refrigerated she recommended processing within four days. Frozen it’s best to use within four months, this is the length of time in which the hormones contained in the placenta are thought to still be potent enough to help with things like breast milk production and fending off the baby blues and post partum mood disorders.
Even if it is in the freezer beyond four months you could probably still process it because even if the hormones are no longer viable it would still be a very potent, highly absorbable iron supplement.